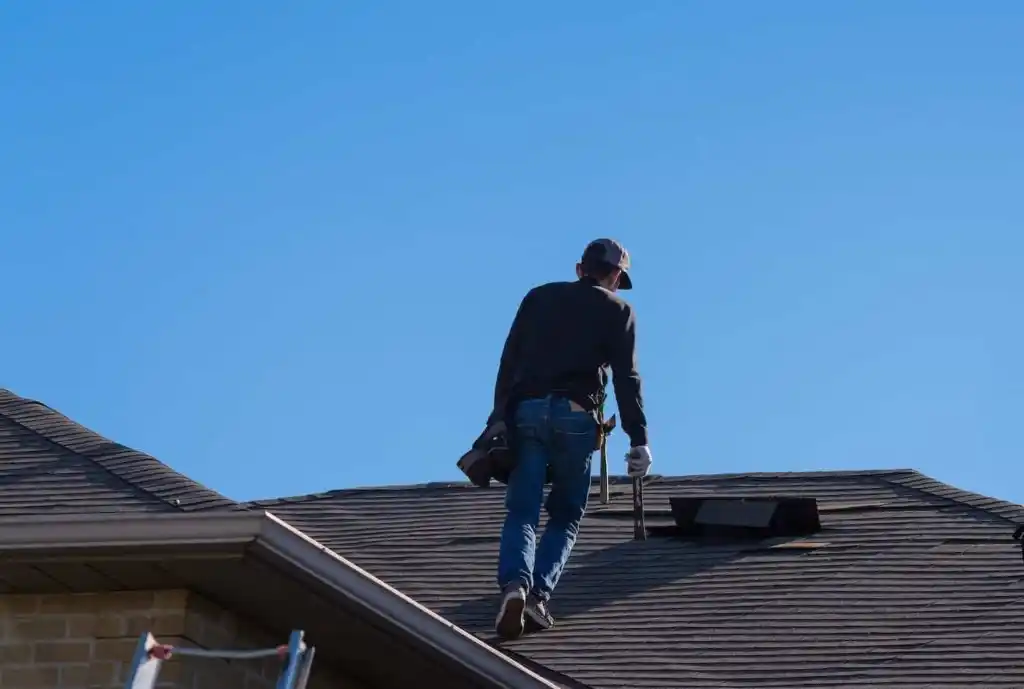
How Much Does The Average Roof Repair Cost? (2022 Data)
When you ask us to jump, we say “how high?” When you ask us “how much is roof repair cost in 2022″, we’re going to say, “it depends.” Everyone’s two favorite words in the home improvement industry.
But it’s true.
While we could tell you the average cost of roof repairs right now is $950, that number can vary greatly depending on factors such as;
- Roofing material used
- Roof size or slope
- The severity of the damage
- Location
- Labor and permits
- Number of roofing elements
Luckily, we’ve got some more specific answers for you so you can get a closer estimate of what your roof repair costs might be depending on your specific needs and roof.
HOW MUCH DOES ROOF REPAIR COST (BY MATERIAL)?💰
Besides the size of your repairs, the type of roofing material you need to repair is the next most significant factor in determining the cost of your repairs. Because most roofing materials are priced by the square foot, they can range anywhere from a few bucks to thousands, depending on the extent of your repairs. But for the most part, the average cost of roof repairs for each common material is the following:
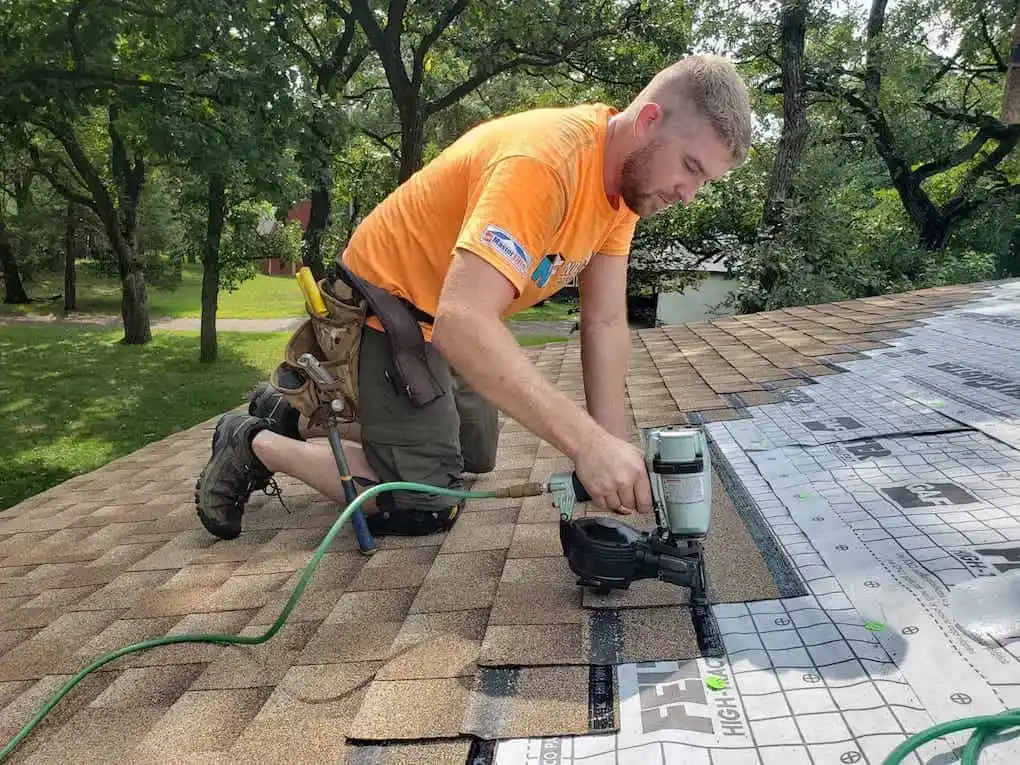
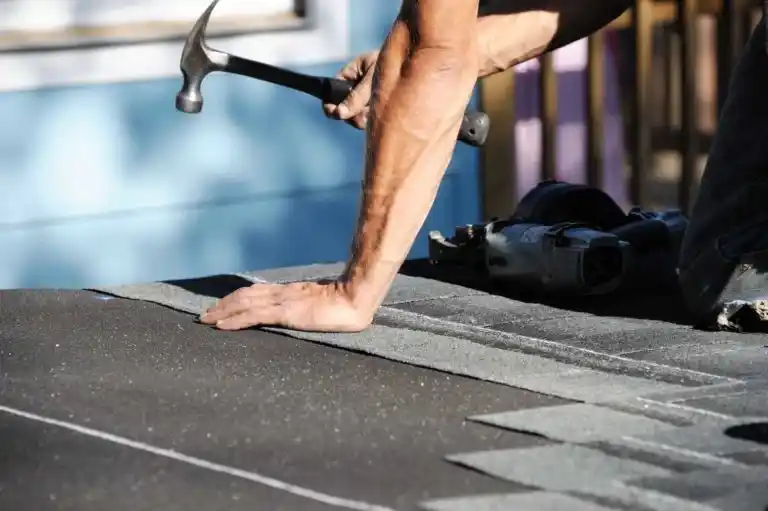
ASPHALT SHINGLES $500-$1,000
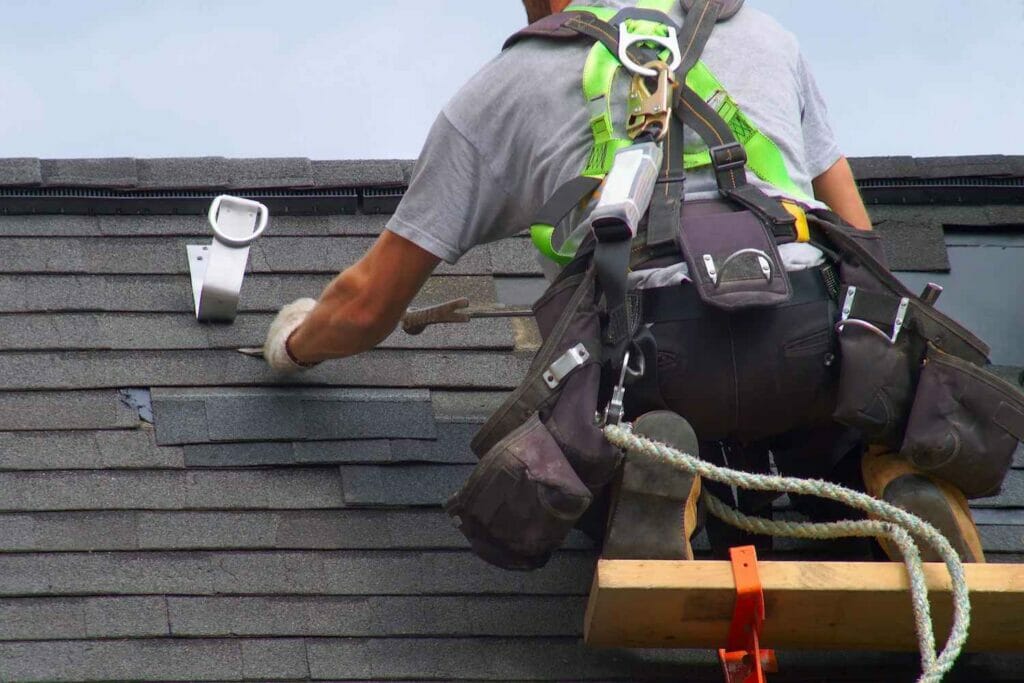
Asphalt shingles are the most commonly used type of roofing material in the United States, and rightfully so. They are durable, versatile, and cost-effective. They do, however, last much less time than other roofing materials.
That means you might be investing in more repairs in order to prolong your roof’s life. And at $90/square (100 sq. ft.) you can expect to spend anywhere from $500 to $1,000 on roof repairs. Common repairs for asphalt shingle roofs include:
- Hail damage repair
- Foof leaks
- Cracked or missing shingles
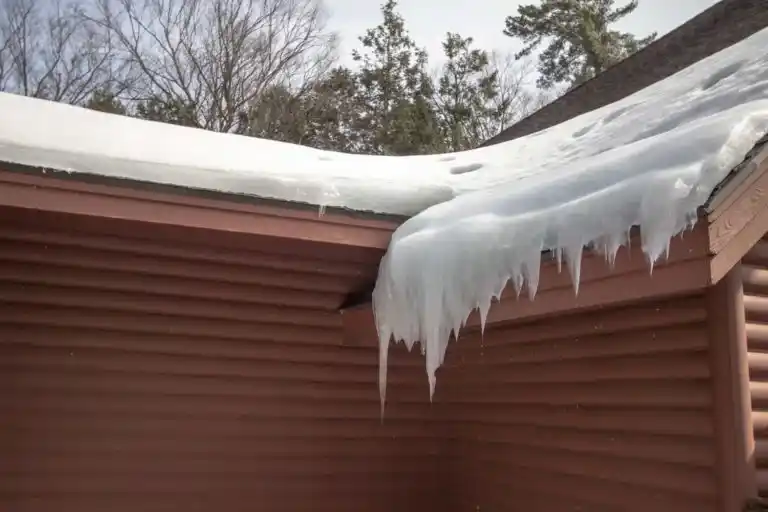
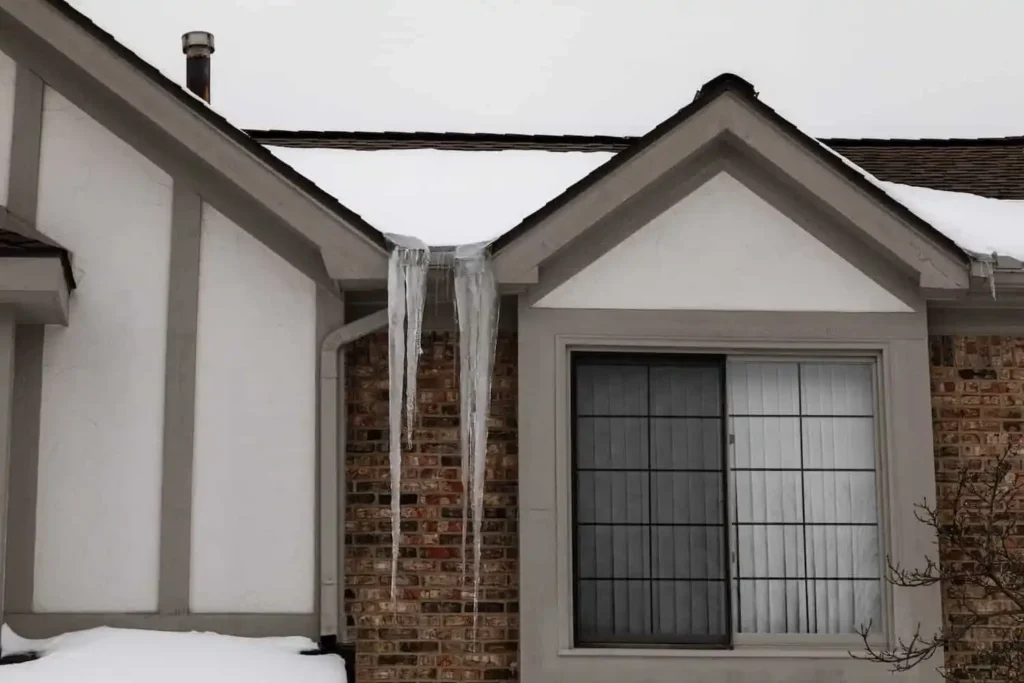
- Ice dam damage
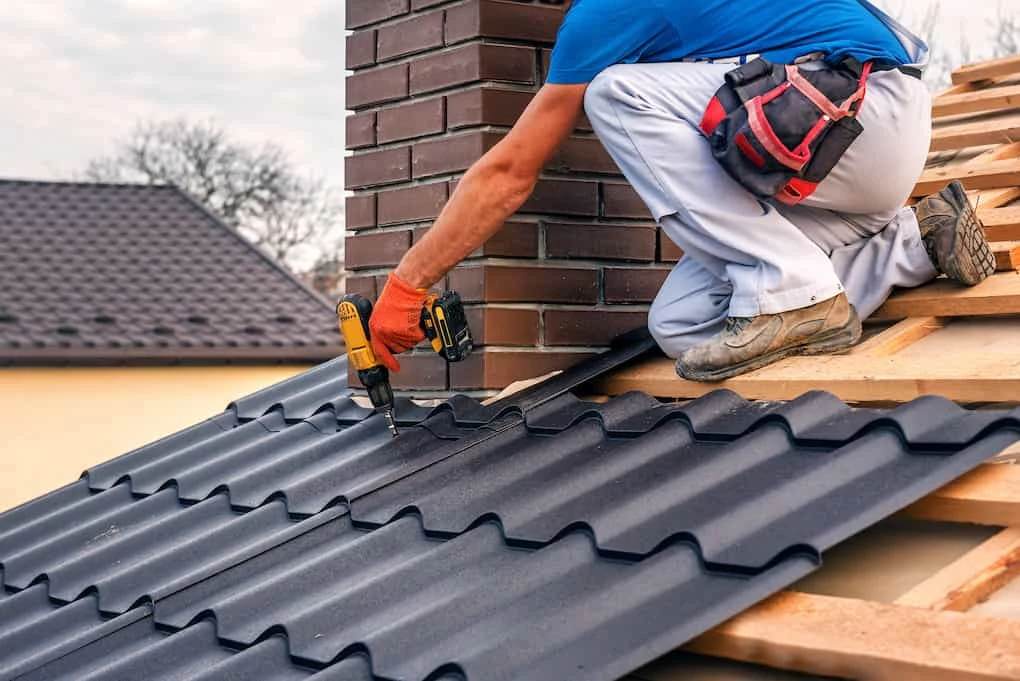
METAL ROOFING $1,200-$1,500
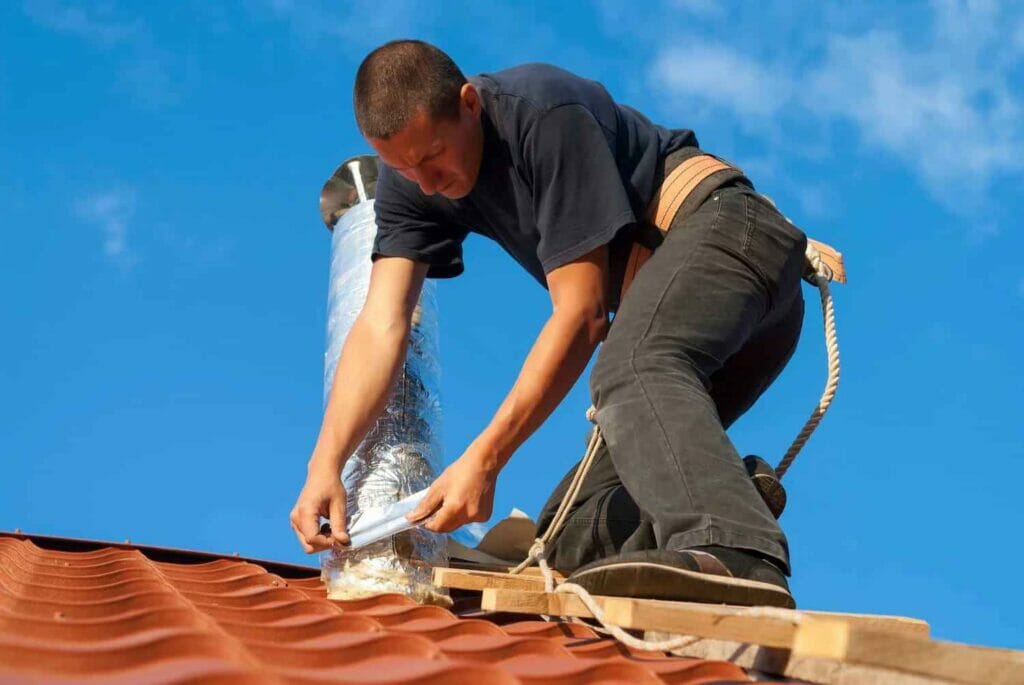
Metal roofs are climbing the ladder of popularity and are becoming a top contender for U.S. homeowners today. They are definitely more costly per square and to install in general, but they can last up to 60 years or more with proper maintenance. And part of that maintenance is repairing the metal roof when it gets damaged. They are very durable against impacts (more so than asphalt), but common repairs on metal roofs include:
- Buffing out scratches
- Fading color
- Corrosion
- Poor installation issues (buckling or coming loose)
FLAT ROOF $300-$500
Flat roofs are common in both residential and commercial roofing. They are more vulnerable to pooling water and leaks, but when installed and maintained properly, they can last up to 20 years. The most common repairs on flat roofs include:
- Ponding water damage
- Leaks or cracks
- Poor installation of the flashing or membrane
- Fading due to UV exposure
CEDAR SHAKES $700-$800
Cedar shakes are roofing shingles made from real wood. They give your home a rustic look and can last up to 30 years with proper maintenance. But because they are made of wood, they are more susceptible to fire damage and rot. The most common repairs for cedar shake roofs include:
- Replacing damaged or rotten wood
- Refinishing
- Treating for moss growth
- Replacing individual loose shingles
TILE ROOFS $900-$1,000
Tile roofs can be made of clay or concrete, most likely. They are some of the longest lasting roofs and are super durable against the elements. Most clay and concrete tile roofs can last 50 to 100 years! However, they can still crack or buckle under severe weather conditions. Common repairs of tile roofs might include:
- Replacing cracked or broken tiles
- Re-securing loose tiles
- Repairing roof leaks
SLATE ROOF $1,400-$1,600
Slate roofs are often called the “forever roof” because they last virtually forever (150 years or more). While they aren’t the #1 choice for new roof installs, maintaining an existing slate roof might be more common. Slate is a natural material so it’s intended by nature to withstand the elements— but what can damage a slate roof?
- Hail damage
- Buckling under the weight (it’s a very heavy material)
As you can see, it truly does “depend” on the type of material you’re using. But that’s not the only thing that can make your roof repair cost range go from $50 to $1,000+. Check out these instances to consider when you’re getting repair quotes for your roof.

5 FACTORS THAT AFFECT HOW MUCH ROOF REPAIRS COST
The roofing material isn’t the only thing that will affect your roof repair cost. Take note of these other important factors:
1. ROOF SIZE 📏
The roof size (measured in square footage) will obviously have an impact on the overall price tag. Larger roofs = more repairs needed = higher costs.
2. LABOR COSTS 💸
While roofing materials will cost a different price per square foot, the roofing labor costs will usually be the same. That’s because roofers tend to charge a set rate per project (not per hour). The average cost of roofing labor in 2022 is around $350 to $550 per square.
3. TYPE OR STYLE OF ROOF 🏠
Different roofs have different styles such as gable, hip, dutch, etc. This particular shape can change the slope of the roof and can make it more or less accessible. These things can complicate or simplify the repair process, which can drive up labor costs if it’s going to take longer or require more crew.
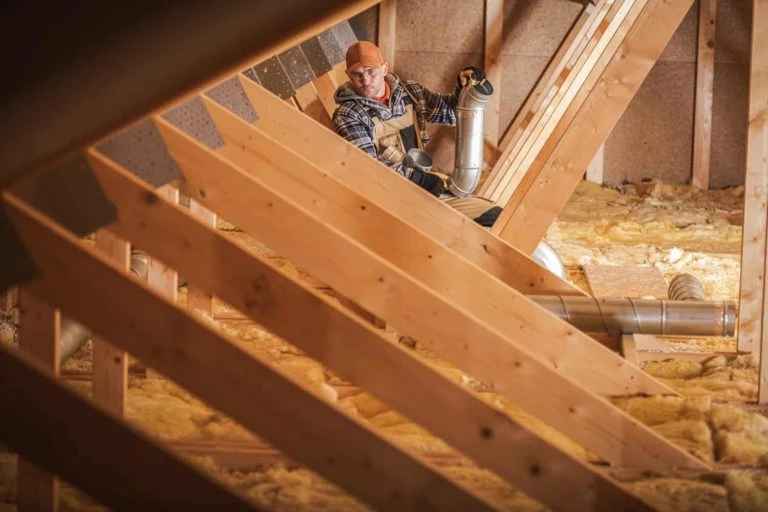
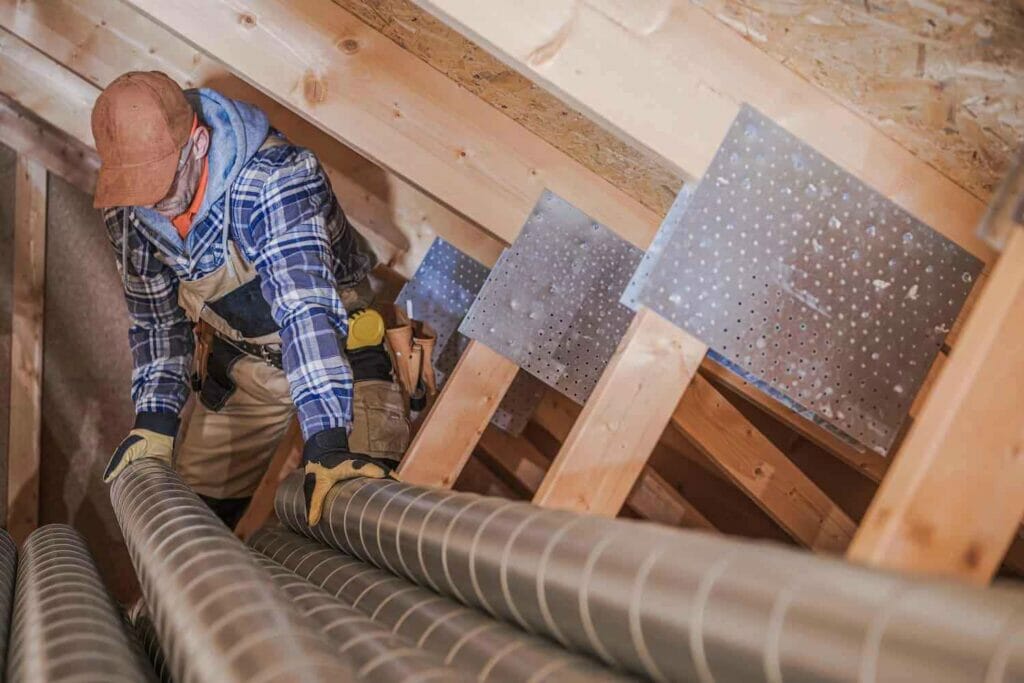
4. THE EXTENT OF REPAIRS 🤕
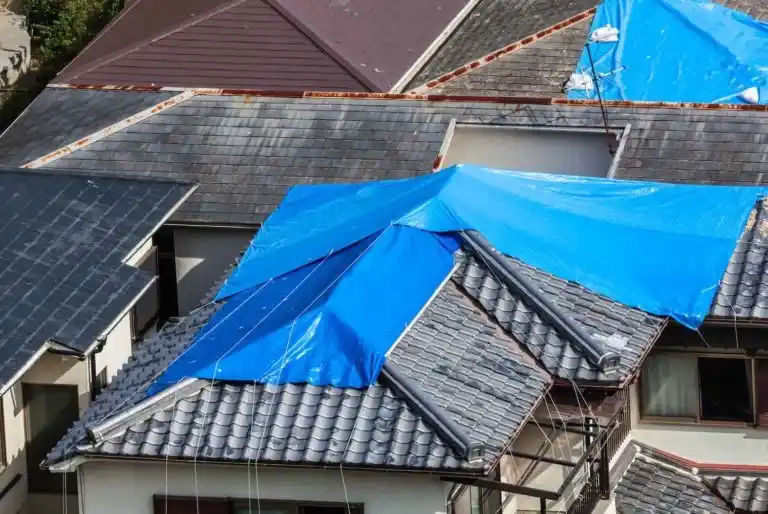
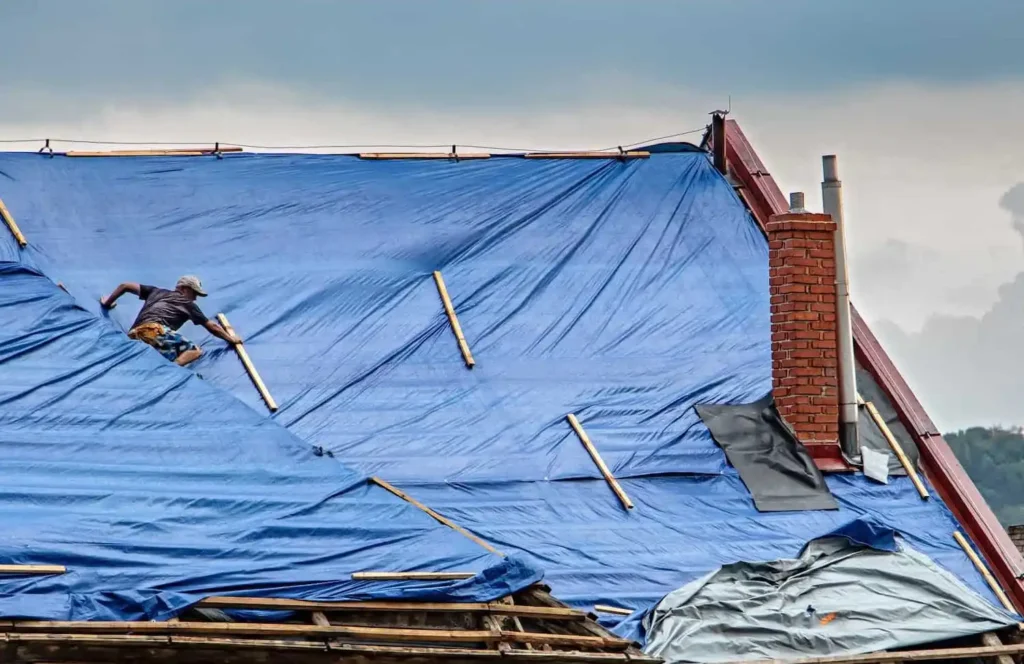
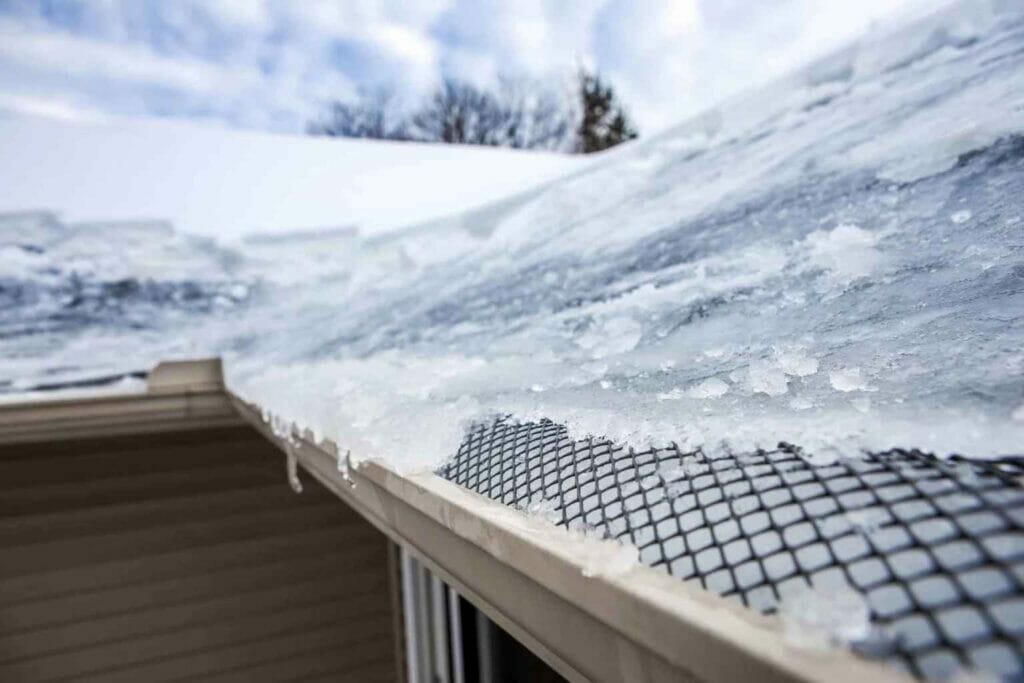
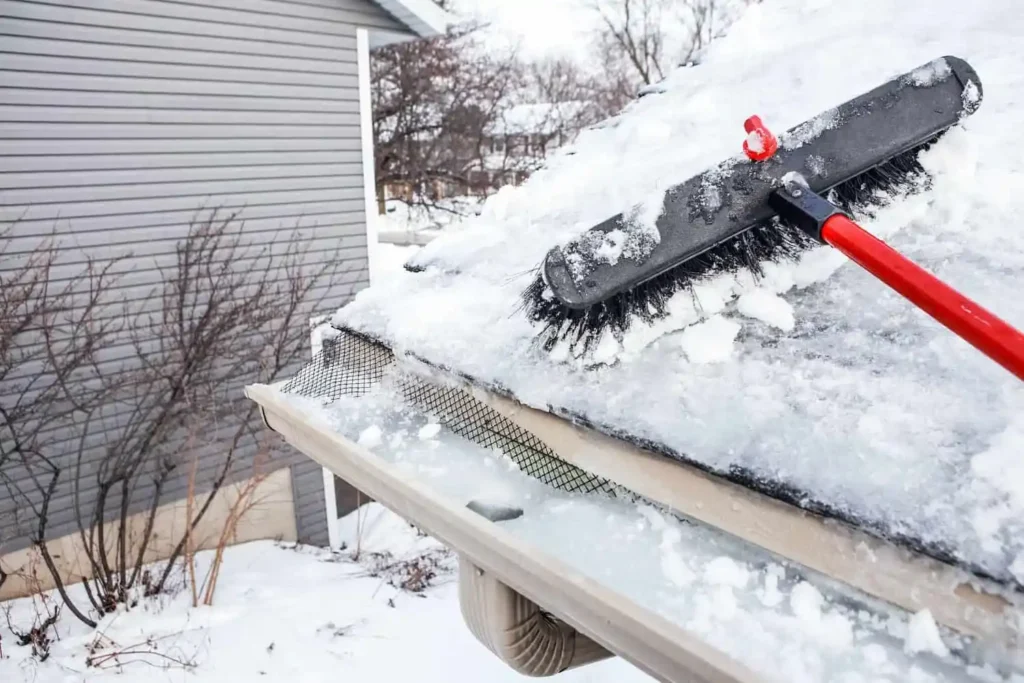
Are we just fixing a few roof shingles or is the roof completely caving in? The severity of roof damage will obviously have an effect on repair costs. If shingles were blown off during a storm, then exposed to the elements for a few days before repairs, it can damage the roof deck underneath.
And it would be irresponsible to install new shingles on top of the damaged roof decking. That will just cause mold or mildew growth which can be detrimental to the structure of your roof. A professional inspection can unlock any additional damage done to your roof or home that must be repaired before replacing the shingles.
5. IF PERMITS ARE REQUIRED 📄
Depending on where you live, roofing repairs might require a permit from the city. This is common for roofing jobs that affect more than 30% of the roof or if the job includes changing the roofline.
Obtaining a permit can cost around $100 to $200 but it’s important to make sure your roofer is licensed and insured and shows proof of their permit so you don’t get reprimanded for their error.
ADDITIONAL ROOF REPAIR COSTS TO CONSIDER
On top of the physical repairs, there can be some other costs that come up that you may or may not have expected. Other costs associated with roof repairs might include:
- Inspections: Most reputable contractors offer FREE inspections, but you might face payments for those if you choose multiple contractors or you find a contractor offering conditional inspections.
- Upgraded materials: Roof repairs might be your opportunity to choose to upgrade your roofing materials, particularly in problem areas. This can boost costs, but end up saving you some money in the long run.
- Discontinued materials: Manufacturers of roofing materials, or any materials for that matter, discontinue items all the time. If you find yourself needing roof repairs with a discontinued product, it can complicate things. You may not be covered under warranty anymore and will have to pay some out-of-pocket expenses.
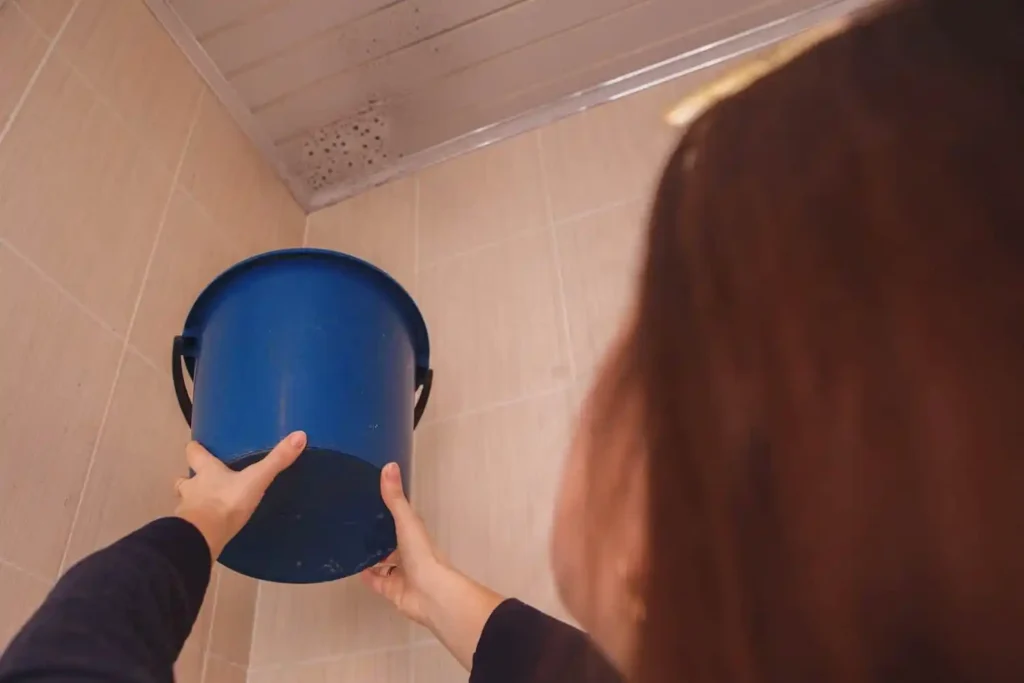
- Interior damage: If your roof has been damaged, it’s possible that there’s also some interior damage to your home. This can include water stains on the ceiling, warped floors, or peeling paint. These aren’t roof repair costs but they are something you’ll need to address if found. Hiring a professional roofing contractor is always the best way to pinpoint these damages.
WHEN TO REPAIR VS. WHEN TO REPLACE
This might all sound expensive, and it can be, but repairs are definitely going to be far more affordable than a total roof replacement. However, sometimes a roof replacement is necessary in order to remedy the issue with your damaged shingles. But only a professional roofer could inspect and know for sure. Signs of a roof needing repairs include:
- The roof is still under warranty
- Repairs don’t affect a large portion of your roof
- Your roof is less than 20 years old
- The damage is just surficial to the shingles and roofing materials and not the things underneath (roof decking, flashing, water barrier, etc.)
A roofer might recommend a total roof replacement, however, if they find any of the following during their thorough inspection:
- The roof is over 20 years old
- More than half of the roof needs repairs or replacement
- The roof has significant damage that can’t be repaired such as water leaks, holes, or rotted roof decking.
- The roof is sagging or has pooling water in a large area
- The roof is no longer under warranty
Again, the best way to know if your roof can be repaired vs. replaced is to call the pros like a team at MARS Roofing to do a thorough inspection of your roof. You could also end up filing an insurance claim and working with an insurance adjuster to check for the integrity and quality of your roof. Then you will know for sure.
WORKING WITH A TRUSTWORTHY ROOF REPAIR TEAM
To get the most out of your money and get timely, cost-effective repairs is to work with a reputable and trustworthy team of roofers. MARS Roofing has the experience and knowledge to pinpoint even the smallest roofing issues and repair them as quickly as possible.
The last thing we want is for you to face more expensive repairs because you sat on hold with a local contractor. When you contact us for a free inspection, we’ll get to your home as fast as possible to get your repairs done right and done fast. We can’t wait to help!