


Ensuring their roofs are safe and stable is one of the most vital responsibilities homeowners must remember throughout the year. Roof shingles can quickly become damaged when exposed to harsh weather or even just with age, so it’s crucial to keep up with maintenance and keep an eye out for any issues with your shingles.
While you can always call your local roofing company, some prefer to take a different route. Learning how to repair shingles on a roof yourself is a smart way to save money and maintain your roof. Learn more about repairing damaged roof shingles in this in-depth and easy-to-follow guide below before taking on your own DIY job.
WHAT CAN DAMAGE YOUR ROOF SHINGLES?
There are many ways your roof can get damaged throughout the year. Sudden and severe storms, prolonged cool weather, and old age can all adversely impact each shingle. Between strong winds, heavy hail and snow, sun exposure, and blowing debris during storms, your roof takes a serious beating over time.
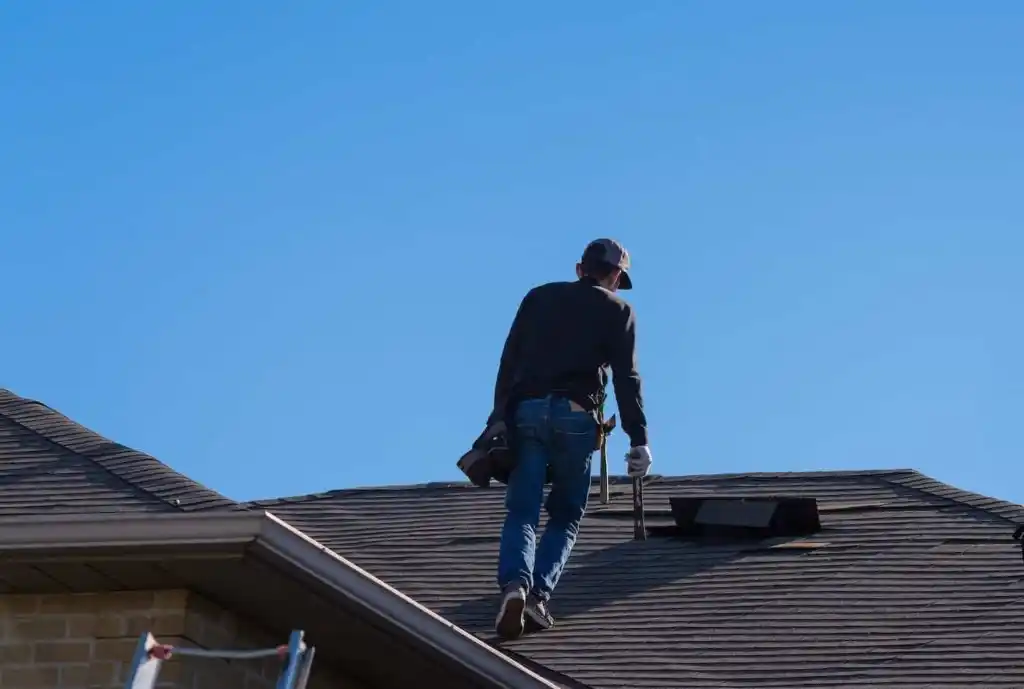
Of course, the age of your shingles and the quality of work put in when the roof was installed will also play into how susceptible your home will be to roof and shingle damage. It’s important to inspect your roof annually or after a particularly intense storm to ensure all the shingles are still intact so further issues don’t start to develop.
COMMON SIGNS OF A DAMAGED SHINGLE
Even a simple broken shingle can have enormous consequences if not dealt with swiftly and correctly, whether it occurs during a storm or after years of exposure to the elements. Shingle damage often leads to leaks and water damage in places like your attic or the upper level of your home’s interior.
It’s crucial to install a replacement shingle right away when you spot a sign of damage to avoid issues in another location of your home. Watch for signs your roof is in need of a fix, such as:
- Discolored shingles
- Missing shingles
- Hail dents
- Water stains on ceiling (leak in the roof from damaged shingle)
- Granules in your gutters
- Curled or crooked shingles
Even just a few broken shingles can cause a big problem. If you notice that you need to replace a damaged shingle, you can either seek out professional services or take a stab at doing the replacement yourself. DIY roof repairs can be a rewarding challenge for the right person. Do you think you have what it takes to put yourself to the test?
ROOFING NAILS, SEALANT, & SO MUCH MORE: START WITH THE RIGHT TOOLS
Have you spotted one of the telltale signs that your roof requires imminent repairs? Replacing or repairing damaged shingles can often be a simple DIY job with the right tools and materials on hand to help throughout the process. You might even have a few of the following things lying around the house:
- Flat bar or roof rake
- Roofing nailer
- Hammer
- Roofing nails
- Putty knife
- Caulk and caulk gun
- Roof patch
- Spare shingles
- Extension ladder
- Proper shoes and safety gear
If your house isn’t equipped with the tools and materials required to start your roof repairs right away, you don’t need to worry about spending a lot of money to make a replacement happen. Most of the items you need to give yourself what looks and seems like a new roof are available at budget-friendly prices, leaving most people more than happy to have done this themselves.
Slide over to your local home improvement store to select quality tools and materials to protect you and make the repair process a smoother experience. Whether you’re replacing whole strips of shingles or simply repairing the old ones, you always want the right tools on hand to enhance your at-home workmanship.
HOW TO REPAIR SHINGLES ON A ROOF
Depending on the type or extent of the damage, broken shingles with minor issues can easily be replaced by savvy homeowners. Here are a few common DIY roof repairs that you can handle with the right tools and know-how:
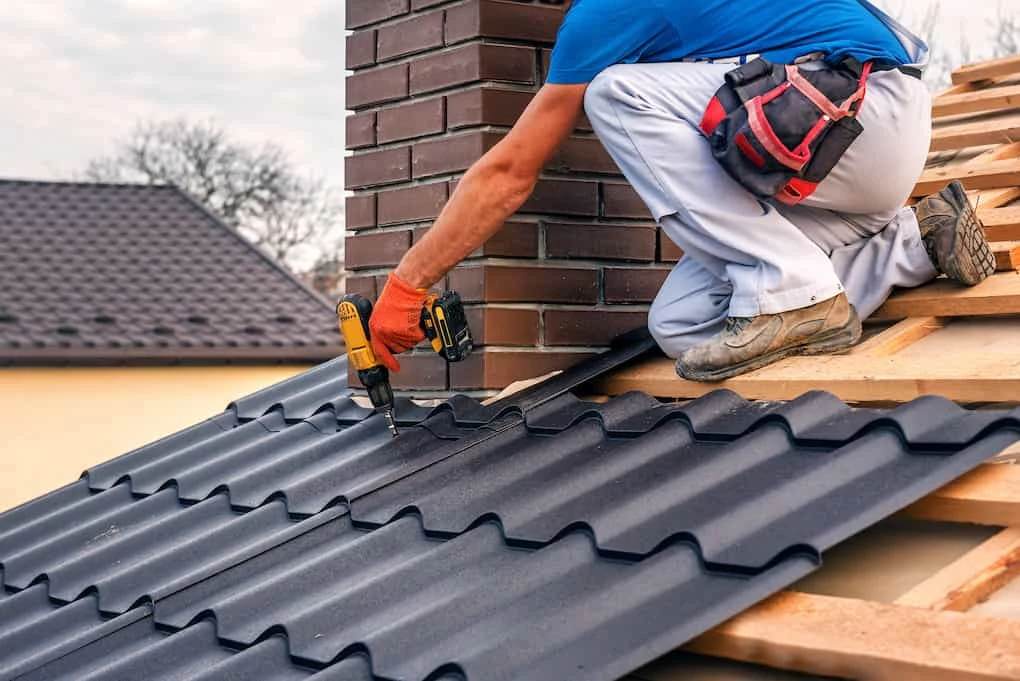
REPLACING MISSING SHINGLES
When roof damage is severe, sometimes whole shingles can fall off your roof. As you might imagine, when an entire shingle goes missing, you’ll need to use a new shingle to complete the repair correctly. Fortunately, with a few pieces of valuable equipment and a little instruction, following the installation process for replacement shingles is easy. The required tools to replace a missing shingle with a new shingle are:
- Flat pry bar
- Hammer
- Utility knife
- 1 1/4″ roofing nails
Once you have the right tools gathered to repair roof shingles correctly, you can start the installation process. When initially installed, each shingle is attached with four nails, but when the row above is installed, those nails pass through the first row of shingles too. That means there are eight nails total to remove in order to replace and install your new shingles. You can use a flat pry bar to remove each shingle easily.
Slide the pry bar under the row of shingles and lift gently. By sliding along and pulling upwards with the pry bar, the nails of each shingle should become easily loosened. Ensure you search for all eight nails from each section before moving on to the next steps.
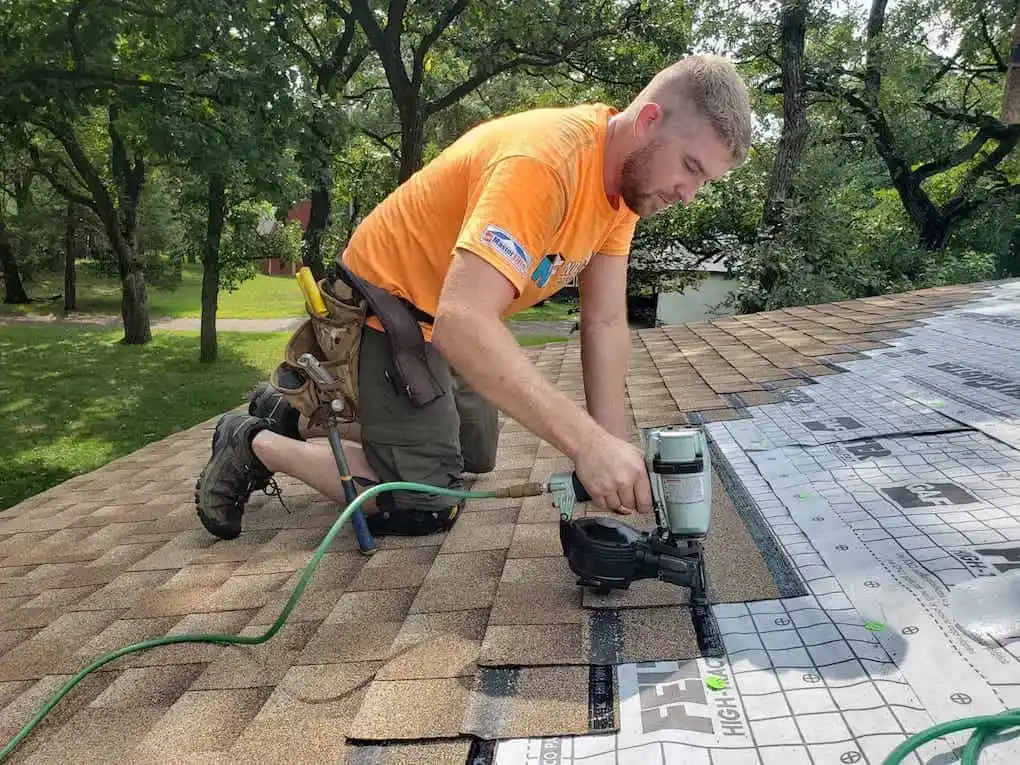
After you pull out all the nails, you can start installing your new roof shingles. Most modern shingle models come as adhesive strips, giving you a fast way to fix your roof. Once your old shingles are removed, and strips of new roof shingles are in place, utilize roofing nails to secure the materials. Work in reverse, and affix each shingle with four nails, or eight nails total, when you consider the second row.
Do a quick search online for more details on how a new shingle or row of shingles is installed. YouTube is stocked with videos on how to repair or replace roof shingles yourself. This video below really nails all the required details with in-depth visual guides so that you can deliver a successful end result in the DIY process.
FIXING CURLED SHINGLE CORNERS
When asphalt shingles start to age, they will often curl up around the edges. It’s easy to stop an old shingle from curling with the help of a few easy-to-find items. Head to your local hardware store and grab some caulk, a caulking gun, and a couple of loose bricks.
Any old caulking gun will do the trick, and you can typically purchase a solid model for under $10. All in all, this should be an inexpensive trip to the store and a straightforward fix for your damaged shingles.
With your caulking gun, carefully lift the curling corner of your asphalt shingles and apply a small amount of roofing sealant. Press the freshly repaired shingles down and place a brink on the top edge to weigh down the shingle. After 24 hours, remove the brick, and your asphalt shingles should look as good as new!
FIXING A CRACKED SHINGLE
When a shingle is cracked or torn, it doesn’t need to be replaced entirely. You probably won’t even require a nail to replace a cracked shingle yourself. Just use some inexpensive store-bought sealant and a few pieces of the essential equipment we listed above to complete the steps as follows:
- Apply a substantial bead of sealant beneath the cracked shingles.
- Press the damaged one down firmly.
- Apply a second row of the seal over the cracked shingles.
- Spread the sealant with a putty knife.
- Use a utility knife to scrape granules from an old shingle into a cup.
- Cover the exposed sealant with the collected shingle granules.
Applying a solid seal to your damaged shingle can be incredibly beneficial since the sealant acts as a barrier to moisture, which can wreak havoc in other areas of your house. Even the most basic seal can have a significant impact on the stability of your roof.
Although at first, the sealant may look unsightly, that’s a quick fix too. You can utilize the crushed-up granules of old or leftover shingles to help your new repair job blend in with the surrounding shingles. With this simple hack, you can have your damaged shingles looking like a whole new roof in no time.
HIRE A PROFESSIONAL FOR YOUR SHINGLE & ROOF REPAIRS
Although learning how to repair shingles on a roof and making simple repairs to a roof can seem like easy enough DIY projects to the right person, not every homeowner is “handy” enough to pull off the challenging process. Many people ultimately accept that hiring a professional roofer is their best bet at getting the shingles on your roof repaired the right way – and that’s okay! Consulting with an experienced roofing restoration company for replacing shingles is often the best option for busy families or working professionals.
Don’t have the time, energy, or expertise to repair roof shingles yourself? Don’t sweat it. Receive a quality of work you can trust to last for years from the reliable team of expert roofers at MARS Roofing. Don’t hesitate and leave your roof exposed any longer; Call us today to get started.