


Did you know a roof can have just a single slope? That’s right. And it’s called a shed roof. No, we’re talking about the roof of your shed, although you might find one there. A shed roof can be utilized in a variety of homes and structures, giving it a stunning, one-of-a-kind appeal.
Not only that, but they are highly beneficial in areas with heavy snow because the snow can shed right off. If you’re considering installing a shed roof on your property or have one already, this guide will help you learn more so you can install and maintain your shed roof the right way.
WHAT IS A SHED ROOF? WHAT IS IT GOOD FOR?
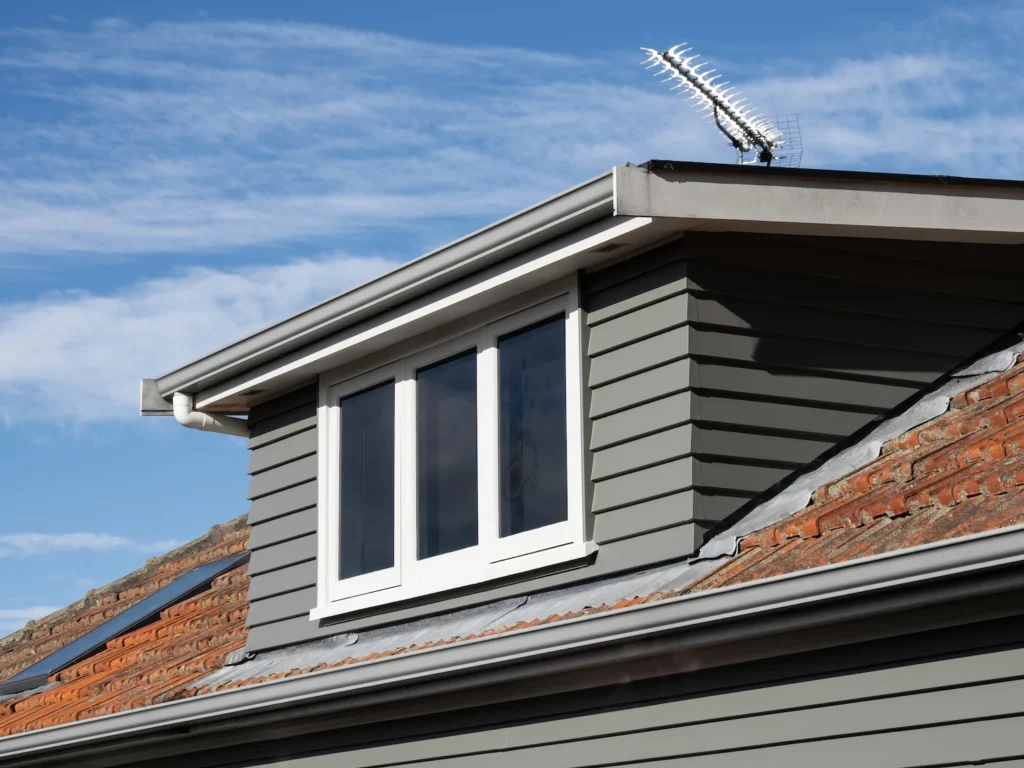
A shed roof, also known as a lean-to, is composed of a single slanted surface. This type of roofing is frequently found on:
- Cabins
- Sheds
- Barns
- And other similar structures
They are low-cost and easy to take care of. They are also very aesthetically pleasing and can help shed snow and ice and provide a lofted living area or bedroom on the upper level of the structure. Perfect for a little cabin in the woods.
PROS AND CONS OF SHED ROOFS
With every good thing, there comes a balance of good and bad things. It’s important to consider all of the following when thinking about installing a shed roof or purchasing a home or building with such a roof style.
👍 LOW MAINTENANCE
Shed roofs have significantly less roofing material and definitely fewer seams and areas susceptible to leaks than other roof styles. This makes regular maintenance a breeze. Make sure gutters are clear, shingles are in good shape, and there are no leaks on the interior.
👍 EASY TO INSTALL AND REPAIR
Another great thing about shed roofs is they are very easy to install and repair, especially if you go with asphalt shingles or metal roofing. This type of roofing can be installed by one person in a shorter period of time than other types of roofs.
👍 UNIQUE AESTHETIC
Shed roofs give any home or building a unique look that can make it stand out from the rest. If you want to add curb appeal and value to your property, this is a great way to do it. You could even add it to one portion of your home in combination with other roof types for a modern look.
👍 LOW RISK FOR POOLING WATER
The slope of a shed roof is very steep and will never hold water since it has no valleys or edges like a two-sided roof might.
👍 CAN HANDLE ANY ROOFING MATERIALS
Shed roofs can be made of just about any roofing material, making it easy to find one that fits your needs whether you’re looking for durability, low cost, or a certain aesthetic.
👍 AFFORDABLE
Shed roofs are one of the most affordable roof types on the market. If you’re working with a tight budget, this is a great option that will still provide high quality and durability. Of course, your cost will depend on the roofing material you choose, but shed roofs are generally not very large, so you save on at least half the costs of a standard two-sloped roof.
❌ NOT IDEAL FOR A STANDARD HOME
Shed roofs are not ideal for a typical home. The single slope means one side of your home takes away valuable space you may desire. However, we have seen homeowners do one part of their home with a shed roof and the other with a standard gable, hip, or even a flat roof for a mid-century modern look.
❌ REQUIRES ADDITIONAL DRAINAGE
A dependable gutter system is necessary since a shed roof is handling the same amount of snow and rain but with just a single slope. Adequate drainage can help mitigate landscape and foundation damage around the bottom of the one slope.
INSTALLING A SHED ROOF
Now that we’ve covered the benefits of a shed roof, it’s time to take a look at the installation process. If you’re planning on taking on this project yourself, we’ve provided a step-by-step guide below.
1. CHOOSE YOUR MATERIALS AND MAKE A PLAN
The first thing you need to do is choose your roofing materials. As we mentioned before, shed roofs can be made of just about any type of roofing material. However, some are easier to install than others. If you’re not experienced in roofing, we recommend going with asphalt shingles or metal since they don’t require as much experience or expertise.
2. PREP THE ROOF
Once you’ve chosen your materials, it’s time to prep the roof. This includes removing any old roofing material, cleaning the surface, and making any repairs that may be necessary.
3. INSTALL THE DRIP EDGE
The next step is to install the drip edge. This is a strip of metal that’s placed along the edges of the roof. It helps prevent water from getting under the shingles and causing leaks.
4. INSTALL THE FELT PAPER
After the roof is prepped, you’ll need to install felt paper. This provides a layer of protection between the roofing material and the plywood.
5. INSTALL THE STARTER SHINGLES
The next step is to install starter shingles. These are placed along the edge of the roof and help provide a clean, straight line to work from.
6. INSTALL THE MAIN SHINGLES
Now it’s time to install the main shingles. Adding shingles is pretty simple. Starting at the bottom, work your way up in a zigzag pattern until the entire roof is covered.
7. INSTALL THE RIDGE CAP
The final step is to install the ridge cap. This helps protect the edge of the roof and provides added stability.
8. ENJOY YOUR NEW ROOF!
Now that you know all there is to know about shed roofs, it’s time to get started on your own project.
SHINGLE YOUR SHED ROOF THE RIGHT WAY— WITH MARS RESTORATION
When it comes to shingling a shed roof, there’s no one better to trust than MARS Roofing. We have over 30 years of experience in the roofing industry and are experts in all types of roofs, and can help you get a shed roof that lasts. Reach out today to get started!