

Ready to learn the basics of roofing?
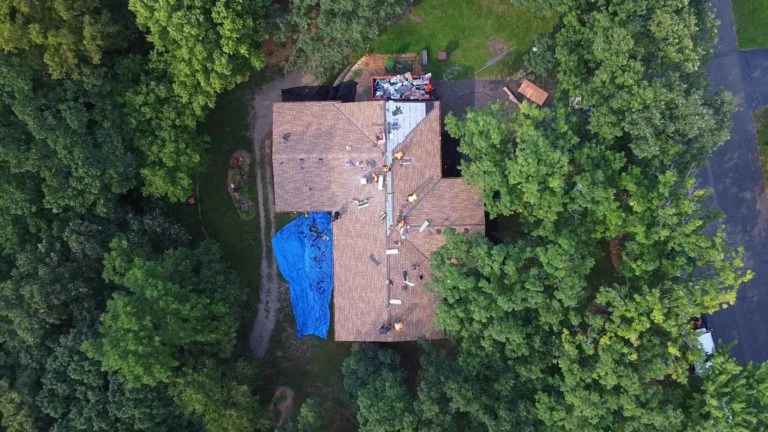
The roof replacement process can be deceivingly straightforward, especially when a team of 5 professional roofers can knock out a project in 8-10 hours.
Now, not every roof installation project will go that fast. Depending on the material, size of the home, and weather, a project will vary from around 1-3 days. It’s also important to remember that this roofing team has all of the proper tools, training, and years of experience to do this. Nonetheless, that’s still pretty quick. Roofing projects must get done quickly because the more time that a roof is left without a surface.
Here’s how the roofing process works.
ROOFING 101: WHAT YOU’LL NEED TO BEGIN
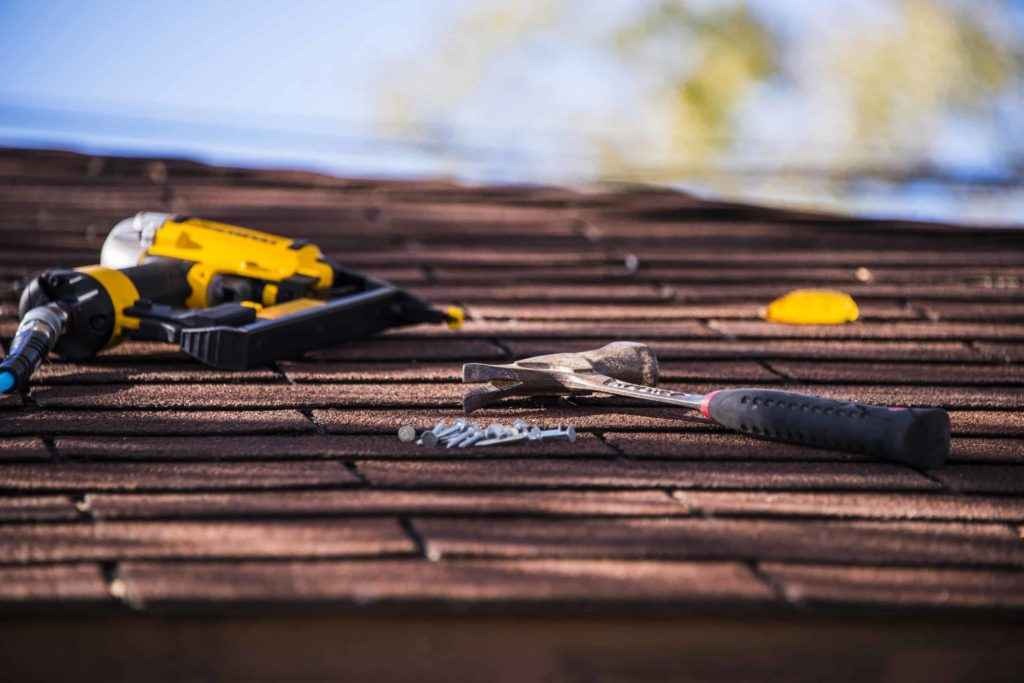
ROOFING TOOLS
Before you’re able to start roofing your home, you’ll need to have the correct tools.
- Roofing Nail Gun
- Roofing Hammer/Hatchet
- Air Compressor
- Hammer Tacker Stapler
- Scoop Shovel
- Pry Bar
- Tarps
- Chalk Line
- Measuring Tape
- Tin Snips
- Caulking Gun
- Skill Saw
- Saw Horse
- Ladders
- Broom and Rake
- Safety Equipment
ROOFING MATERIALS
These are the roofing materials that you’ll commonly need to roof an asphalt shingle roof.
- Asphalt Shingles
- Drip Edge
- Roofing Nails
- Tar Paper (Ice and Water Shield)
- Staples
REMOVING THE OLD ROOF
Unless the roofing project takes place on a new build, the roofing company you choose will need to remove the old roof before installing a new one. Occasionally, a re-roofing application is possible, which is when new asphalt shingles are placed over the existing shingles. This can only be done one time, and the next time that the roof is replaced, all of the material will need to be removed.
Cleaning up after scraping everything off the roof can be difficult. If you’re worried about your grass having nails and such in them, ask your roofing contractor how they plan to keep things cleaned up.
CHECKING VENTS AND INSTALLING TAR PAPER
After all of the shingles and tar paper is cleaned off the roof, you’ll be able to check on the rest of the roof. The exposed sheeting on the roof should be inspected for water damage or places where it might not be as secure as it should be. It’s also a good time to replace any vents that are damaged from hail. These vents can be easily changed out after the shingles are removed.
After you feel confident that the roof is in good condition, you can start rolling out tar paper over the roof. Tar paper acts as a vapor and water barrier for your roof. Installing the tar paper is fairly simple. All you need to do is roll it out and staple it down.
INSTALLING FLASHING
Next up is flashing. Flashing is the metal part of your roof that goes directly against the different seems in the roof. It helps protect your house and siding from the heavier amounts of water that often run around the edges of your home.
In some cases, you will need to bend and cut the flashing to fit the different areas of your roof. Getting the cuts and bends right is difficult and takes someone with experience to get it right.
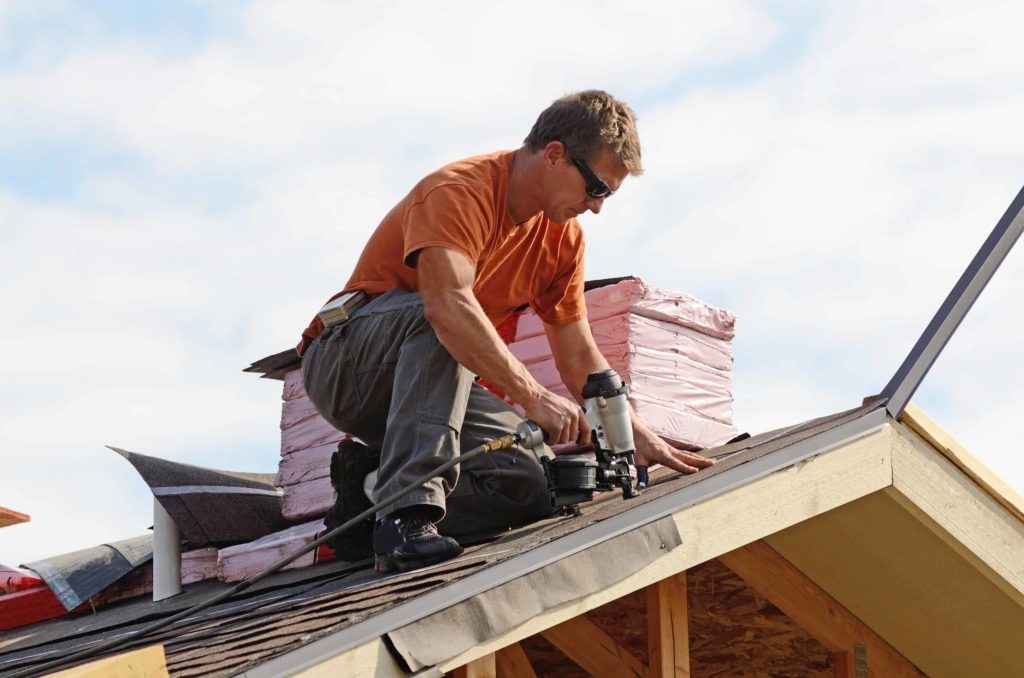
SHINGLING THE ROOF
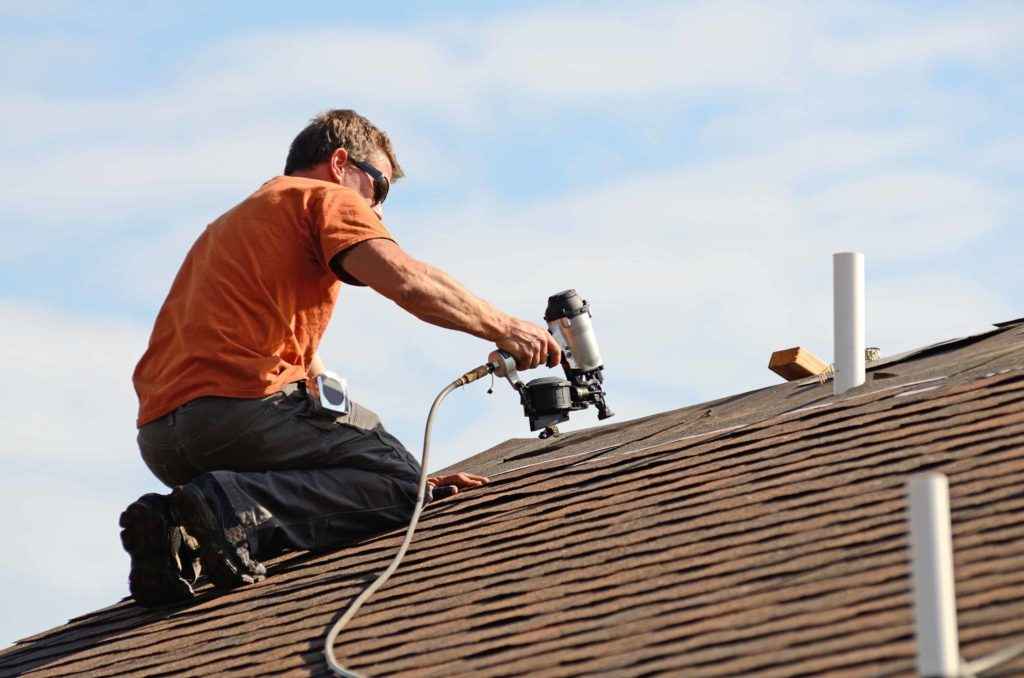
With tar paper and flashing all in place, you’ll be able to start installing shingles. The best way to go about installing shingles on your roof is to work from the bottom of the roof to the top. The reason roofers need to work from the bottom of the roof to the top is that roofing shingles overlap each other. By starting on the bottom, you’re able to place the next row over the top of the last and continue that all the way up.
Asphalt shingles are also designed to have a pattern. This means that where you start the row after the first row matters. You’ll need to follow the pattern so that your shingles line up and properly shed water. Continue repeating this process until you reach the ridge of the roof. A ridge cap is used along all of the ridges of your roof to attach the two different sides of your roof.
MAKE SURE YOUR GUTTERS ARE IN GOOD SHAPE
When you’re done with the shingles and happy with how your roof looks, you should definitely take a look at your gutters. Gutters are essential in every home because they help to carry water away from the foundation.
Without gutters, a home will have an uncontrolled spill of water rushing off the roof and down around the foundation. This can lead to water in your basement and eventually a weaker foundation if it’s not taken care of.
KNOW WHEN TO CONTACT THE PROFESSIONALS
While doing your own roof installation is a great way to save money, it is also a great deal of work and if not done correctly, can lead to extensive repair costs in the long run. This is why it is important to know your handyman limits and when to contact the professionals.
When you hire a quality contractor for your roof installation, not only do you get a properly installed roof that will last you years to come, but you will also get workmanship and manufacturer warranties which will further protect you incase anything goes wrong (manufacturer warranties are often void when not done by a licensed contractor).
If you are looking for a trusted contractor to re-roof your home, give us a call at Mars Roofing. We’d love to help! The team at Mars Roofing is accomplished and ready to roof your home. Give us a call or fill out the form on our website to get started!