

If you’re reading this, it’s probably because your neighbor asked when you were going to get around to cleaning your roof. You also probably didn’t realize that your roof was “dirty” or that keeping your roof clean was a critical part of homeownership.
Well, keeping your roof clean is an important part of homeownership. Not only do you want to keep your home looking nice, but you also want to protect the very thing that stands between the inside of your home and the elements.
In this article, we’ll walk you through the steps of how to clean your roof shingles. We’ll also explain why it’s so important.
WHAT HAPPENS IF YOU DON’T CLEAN YOUR ROOF?
As mentioned, your roof serves as the first line of defense between you and the environment.
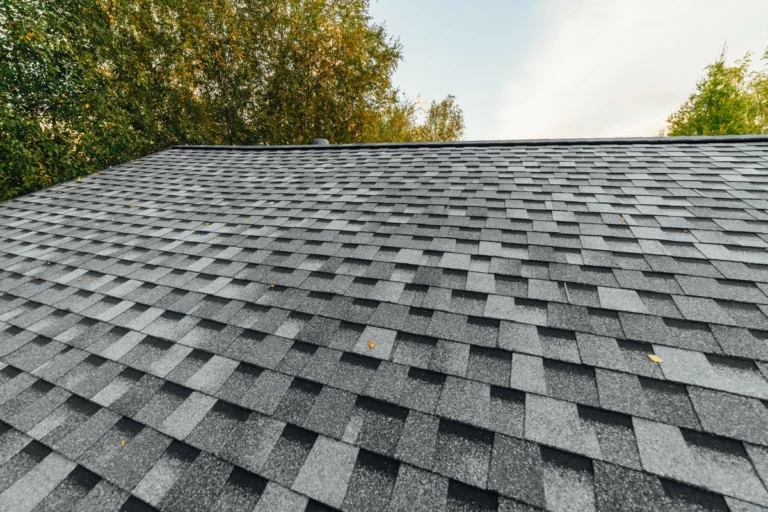
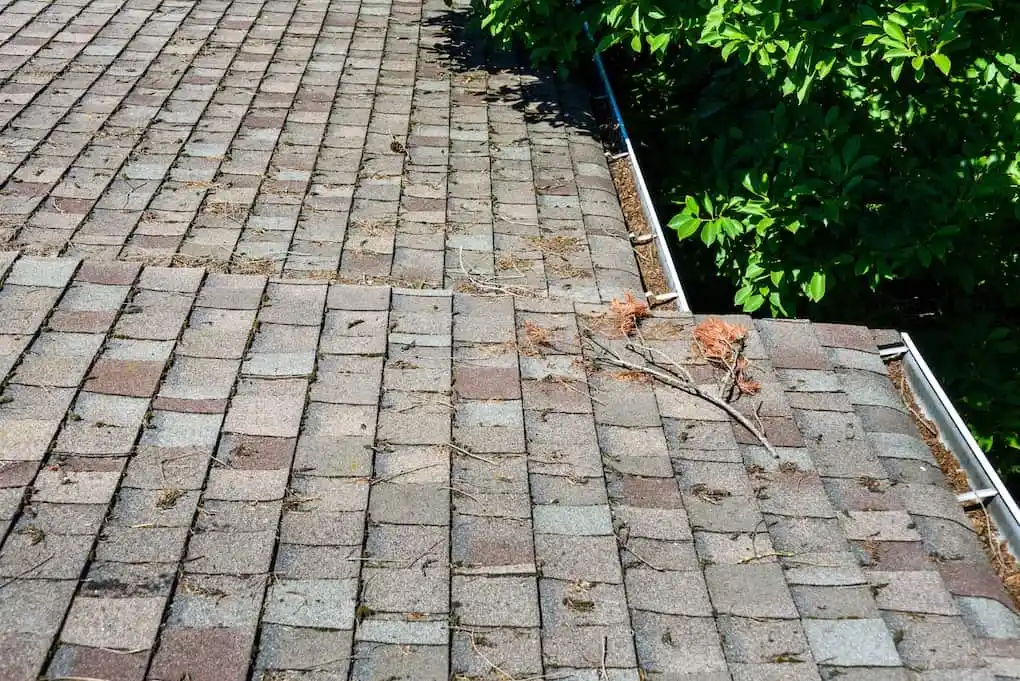
Over time, your roof can and will become covered with dirt, debris, fungus, moss, lichens, and algae. While high winds and storms can carry a lot of the dirt and debris over, birds are also responsible for transferring algae spores to your shingles. Overhanging trees also tend to provide the shade needed for algae and moss to grow as well as drop the debris that feeds them.
What’s more, where algae grows, mold will follow. This is because algae initially grows where water and moisture collect. Combine that with enough shade, and you have a breeding ground for various types of mold.
All of these things — which turn into stains — can end up damaging your roof through shingle deterioration. Eventually, this will lead to wood rot which will shorten the lifespan of your roof and demand expensive repairs.
More specifically:
- Shingle damage occurs because algae is a type of bacterium. This bacterium feeds off of asphalt and limestone. Algae strains also tend to absorb heat, which causes your asphalt shingle roof to bake from the inside out.
- Wood rot occurs because moss has the ability to hold in moisture. This can cause your roof shingles to lift and curl, which is usually the first sign of roof damage. This makes your roof extremely vulnerable to wood rot and leaks.
Additionally, if you have lichen colonies, their penetrating tentacles can create pockmarks where they grow. Eventually, they’ll take over and completely damage your roof’s shingles.
Fortunately, lichens, algae, and moss are easy to spot. Wood rot, on the other hand, is not as obvious. What’s worse is that even if you’re able to spot the signs of wood rot, you won’t know the extent of damage that has been done to your roof. This can be dangerous as it can cause mold growth inside your home.
Rotting wood is also easier for wood-gnawing creatures to bore holes into your home.
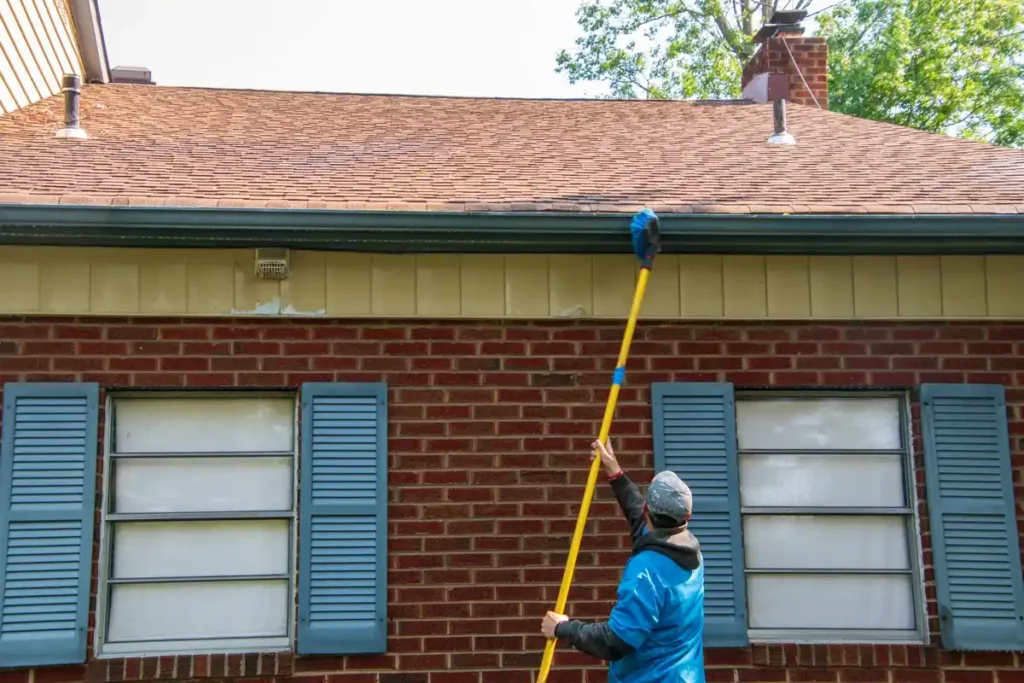
WHAT YOU NEED TO CLEAN YOUR ROOF
What you’ll need to clean your roof will depend entirely on the type of roof you have and the extent of the potentially damaging stains you see. Here’s a general list of the items you’ll need to complete the job:
- Roof cleaning solution, Sodium Hypochlorite, or chlorine bleach
- Laundry detergent or liquid dish soap (optional)
- A low-pressure garden sprayer and garden hose
- A ladder
- A nylon brush
- Plastic tarps
- A friend to help out in case things go wrong
The type of chemical mix you choose is entirely up to you. It should be noted, however, that store-bought bleach isn’t as potent as what professional roof cleaners use. So, you may have to give your roof a few washes before seeing results.
THE STEPS TO CLEAN YOUR ROOF SHINGLES
To keep things simple, we’ll run through the steps using bleach as the DIY cleaning solution on asphalt shingles.
Here’s how it’s done:
- To create your cleaning solution, use a 1:1 ratio of bleach and water. To help the chemical solution stick to asphalt shingles better, you can add a little bit of laundry detergent or dish liquid (about ¼ cup).
- Before you begin, be sure to sufficiently water the surrounding vegetation and grass. When plant life is thoroughly watered, it won’t retain any excess water that comes down — which means you won’t accidentally kill your lawn or garden while cleaning your roof. It’s also a good idea to cover bushes and extensive gardens with plastic after watering.
- Be sure to also turn your gutters away from any precious vegetation, just as a precaution.
- Using your low-pressure pump, start high on the roof and work your way from top to bottom, spraying an even coat of the cleaning solution.
- Allow the solution to sit for up to 20 minutes, and then rinse away with clean water.
*If you choose to use a store-bought roof cleaning solution, just follow the directions on the label. If you decide to use Sodium Hypochlorite (pool shock), start with a solution that’s 95% water and 5% Sodium Hypochlorite.
WHAT NOT TO DO WHEN CLEANING YOUR ROOF
Cleaning your roof isn’t as easy as it may sound. There are plenty of mistakes to be made, which is why you must avoid doing the following:
- Using a pressure washer. Pressure washing any type of roof will undoubtedly cause damage.
- Overdo it. While you may want to repeat the process a second time if there’s a lot of moss or algae growth, it’s best to give it time to die off. If it doesn’t after a few rain showers, repeat the process.
- Cleaning on a sunny day. The sun will cause your cleaning solution to evaporate too quickly — it’s best to choose an overcast or cloudy day.
- Waiting until your roof is completely covered in growth to clean. If this is the case, it’s too late. You’ll need to bring in the professionals.
DON’T FORGET REGULAR ROOF INSPECTIONS!
Sometimes, it’s just better to call the pros to have your roof cleaned. It’s also necessary to schedule regular roof inspections to ensure there’s no damage beyond the simple algae stains you cleaned a month ago.
That’s where we come in. Get in touch with us today to learn more about our residential roofing services and our FREE roof inspections!