

You’re probably thinking, “who on earth has a home with a hexagonal roof?”. Well, you’re not wrong. People don’t really utilize hexagonal roofs for their homes. However, you might see a hexagonal roof on:
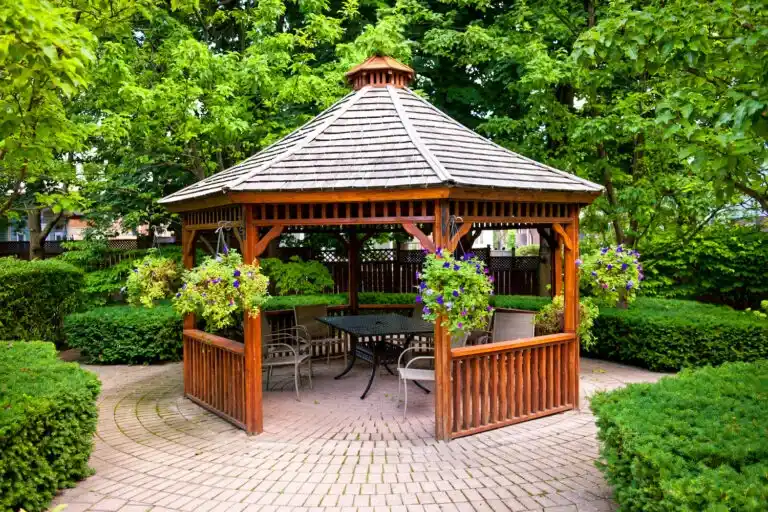
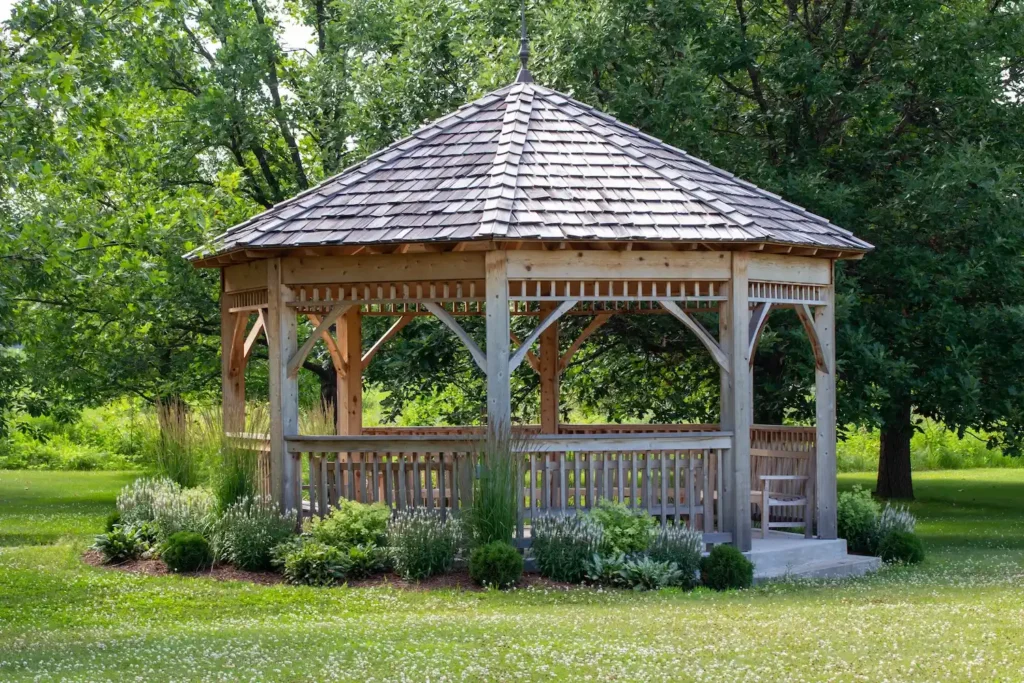
- Gazebo
- Back patio
- Sunroom
- Greenhouse
- Roof cupola
Curious about how you can enhance your property with a stunning hexagonal roof? This guide will help!
WHAT IS A HEXAGONAL ROOF? 🛑
How well do you remember geometry class? If you recall, a hexagon has six sides, angles, and planes. Thus, a hexagonal roof is a six-sided roof with this unique shape. This type of roof is often seen on gazebos, sunrooms, and greenhouses. While it’s not a common roofing choice for homes, it can add a touch of elegance and style to any property. Here are some of the pros and cons of a hexagonal roof to consider.
✅ADVANTAGES OF A HEXAGONAL ROOF
- Beautiful aesthetic
- You can use any roofing material with it
- Hexagon gazebos provide outdoor shade from sun and rain
- Can be combined with other roof types on a home
🚫DISADVANTAGES OF A HEXAGONAL ROOF
- Require complex carpentry and installation
- Have a lot of seams that are susceptible to water leaks
- Not ideal to be used for the main roof of a home
HOW TO BUILD A HEXAGONAL ROOF
Building a hexagonal roof can be quite complex and requires the right expertise to build the frame and rafters before even laying the roofing material. This simple step-by-step guide can help you get started!
🔨TOOLS REQUIRED:
- 6 74-inch pieces of lumber for the rafters
- Plywood
- Tar paper
- Mitre saw
- Roofing materials (asphalt shingles, cedar shake, metal, etc.)
- Nail gun and nails
- Galvanized screws
- Hammer
- Silicone caulk
- Utility knife
STEP 1— BUILD THE RAFTERS
The rafters make up the structure of a hexagonal roof and are the first thing to put in place before installing the roof, obviously. The rafters are made up of six pieces of wood that will meet in the center at a point. Your initial frame will need to be set first, which you can see here.
You have two options for installing your rafters:
- By assembling the roof frame on the ground, you avoid having to do all the work on top of a ladder. But you will need some help to lift and hold the roof frame while attaching it to the main railings.
- If you’re DIYing, it will be easier to install each rafter on top of the existing posts. Just make sure your ladder is positioned on a flat, stable surface.
You will want to cut the ends of your rafters to be 45 degrees so they can fit flush against the posts. Then, you’ll secure them using galvanized screws.
STEP 2— BUILD THE ROOF
After you’ve put up the frame for your roof, it’s time to add the bottom layer. You can use either plywood boards or slats— both work just fine. However, if you’re looking to save some time, go with the plywood boards.
- Measure one of the triangular sections of your roof, between two rafters. This will require some math: use these formulas to calculate the area of your triangle.
- Once you determine the size, trace the corresponding triangle shape on your first sheet of plywood, using the mitre saw to carefully cut it out.
- Repeat step 2 six times until you have all of your plywood pieces cut.
- Using a hammer or nail gun and nails, tack these plywood pieces to the rafters to frame your roof.
STEP 3— WATERPROOF THE ROOF
Just like any roof, waterproofing the roof deck (plywood) is vital to ensuring your home or structure stays safe from water leaks and damage. To do this, follow these steps:
- Cover the plywood boards with a sheet of tar paper and use staples to secure them.
- Next, you should install a breathable membrane that will allow air to circulate, decreasing the chance of condensation.
- Lastly, apply a thin layer of silicone caulk over the screw or nail heads to seal their holes which can be susceptible to minor leaks.
STEP 4— INSTALL THE SHINGLES
The final step is to install the roofing material of your choice! There are many different types of roofing materials you can use on a hexagonal roof, including asphalt shingles, cedar shake, and metal.
If you’re using asphalt shingles, start from the bottom and work your way up, overlapping each row as you go. Make sure to line up the shingles with the center of each rafter so that they’re evenly distributed. Following the manufacturer’s instructions will be key to instilling these properly. Just keep in mind that a hexagonal roof will have six peaks that require proper flashing and sealant to ensure a watertight seal.
And there you have it— your very own hexagonal roof!
WORK WITH TECTUM ROOFING FOR YOUR CUSTOM ROOFING NEEDS
If you’re looking for a custom roofing solution, look no further than MARS Roofing. We specialize in creating one-of-a-kind roofs for all types of homes and commercial buildings. No matter what your vision is, our team of experts can make it a reality. Contact us today to get started on your project!