

After a big storm, a roof leak and damage can wreak havoc on your home. It’s not uncommon for homeowners to try and fix their damage to help ensure that their roof is in good condition without hiring a professional company.
DIY roof repair can save you a lot of money, but that doesn’t mean it’s the best course of action for your roof. In most instances, calling a professional is a much safer and wiser thing to do. It can help ensure your home is well taken care of and that there isn’t any damage that’s missed because you’re not a professional roofer.
If you’re thinking of getting up on your roof to undergo a repair, there are a few things you need to know.
4 COMMON DIY REPAIRS AND MAINTENANCE
One of the things that homeowners often overlook is roof maintenance. Regularly cleaning your gutters and making sure there isn’t any debris on your roof can help ensure that water will run off properly and not pool on your roof. This is one of the leading causes of leaks and other damage.
Here are some common and easy DIY roof repairs and maintenance that you can complete.
1) CLEAN OFF THE ROOF AND CLEAN OUT THE GUTTERS

One of the most important things you can do for your roof is to keep it clean. This means removing any leaves, sticks, and other debris that might have gathered on top of it. If sticks and leaves are left to rot on your roof, it can cause your roofing material to rot.
It’s also important to ensure that your gutters are free from debris so that water can properly drain away from your home and not leak back into the rafters.
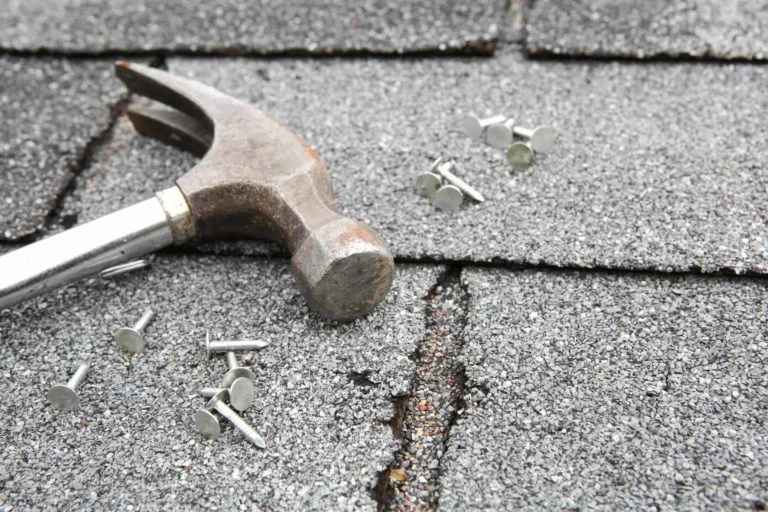
2) REPLACE DAMAGED AND MISSING SHINGLES
When your shingles are damaged or missing, getting up on your roof to repair those shingles is going to help ensure that your roof doesn’t leak. You want to make sure that you’re using the same type of shingles so that they match the rest of your roof and don’t stand out.
Before you start repairing or replacing any shingles, take a good look at your roof to see if there are any other areas that might be damaged. It’s always best to repair everything at once.
Keep in mind that damaged and missing shingles should be covered by your homeowner’s insurance. Be sure to contact them as soon as you notice the damage to get started with a claim.
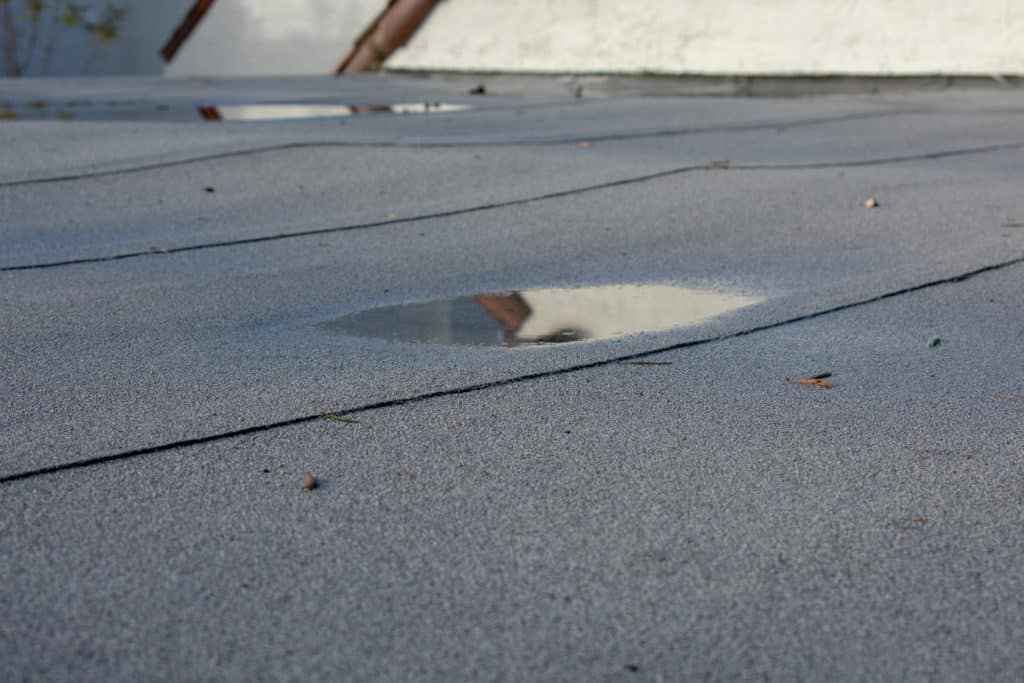
3) FLAT ROOF REPAIR
Flat roofs are easier to repair because they don’t require quite as intricate of work. If you have a flat roof, it’s important to inspect it regularly for any ponding water. This is when water pools on your roof and causes a significant leak and damage if left unchecked.
If you do find ponding water, use a garden hose to remove it and then repair the area with a sealant made specifically for flat roofs. Paint on sealant is often your best choice and should help to quickly resolve the problem.
4) REPAIR YOUR FLASHING (ADVANCED REPAIR)
A more advanced repair that probably shouldn’t be undergone by most homeowners is repairing your flashing. Flashing is the metal along your roof’s edges and around any chimneys or vents. When the flashing is damaged, it can cause leaks and lead to roof rot.
If you’re going to attempt to repair your flashing, be sure that you know exactly what you’re doing. It’s easy to make a mistake that will lead to even more damage and void your warranty. There are plenty of videos out there and guides, but it’s probably better to call the pros if you don’t feel comfortable.
5 STEPS TO FINDING AND FIXING A ROOF LEAK
If your roof is leaking, then that’s going to be one of the most pressing issues facing your home. The first step to fixing the leak and ensuring no further damage comes to your home is to find that leak.
1) LOCATE YOUR ROOF LEAK
Locating the leak could be easy or hard, depending on where the water is coming into your home. If you see water stains on your ceiling, that’s a good indicator that the leak is coming in through your attic.
If you don’t see any water stains, it might be more difficult to find the leak. In this case, you’ll want to wait for a rainy day and then go into your attic with a flashlight. Look for water coming through or different areas that become damp. If you’re still not able to find the leak, it might be time to reach out to a professional roofer.
2) CHECK FOR MISSING SHINGLES OR OBVIOUS DAMAGE
Missing shingles or other obvious damage to the surface of your roof after a storm will be an obvious sign that your roof is damaged or needs to be tended to. After you’ve located the leak in your attic, take a look at the outside of your roof to see if there are any missing shingles or damaged areas.
Sticks or branches falling on your roof can cause real damage easily. Hail and strong winds can also damage shingles and lead to future leaks. That’s why it’s always recommended to get up on your roof and check for damage after every storm.
3) TARP THE ROOF UNTIL YOU CAN REPAIR IT
If you have missing shingles or damaged areas on your roof, it’s important to tarp those areas until you can repair them. This will help prevent any further damage from occurring and also help to keep the leaks at bay.
You can buy tarps at most hardware stores or online. Be sure to get one that’s big enough to cover the entire area of your roof that’s been damaged. You might need more than one tarp if the damage is extensive.
4) REPAIR THE SEAL WITH NEW SHINGLES
Once you have the area tarped, it’s time to arrange to make the repairs. If you’re missing shingles, then you’ll need to replace them with new ones. This is a relatively easy process that anyone could do with the right materials and tools.
If the damage is more extensive, then you might need to replace larger sections of shingles. This is where it can start to get difficult. Be careful not to take on more than you’re capable of, and don’t try to walk on a wet roof.
5) USE ROOFING CEMENT FOR A SHORT TERM FIX
If you can’t immediately repair your roof, then you might need to use roofing cement as a short-term fix. This will help to prevent any further leaks and give you some time to save up for or make arrangements for the repairs.
You can apply roofing cement with a putty knife or trowel. This is not a permanent fix, so please don’t use it like one. If you’re going to use roofing cement, it should only be for a very small part of your roof or a very small leak.
WARNING: DIY ROOF REPAIR CAN BE DANGEROUS
It’s important to remember that DIY roof repairs can be dangerous. It’s always best to call a professional if you’re not comfortable with going up on your roof or making repairs yourself.
If you decide to do it yourself, be sure to take all the necessary precautions and have someone with you in case something happens. Going up a ladder can be dangerous, and you don’t want to risk injury just to save a couple of bucks.
HIRE A PRO AND GET THE JOB DONE RIGHT
To help ensure your roof is repaired correctly and you’re completely safe throughout the process, you’re best off hiring a pro. A reliable, responsible, and trustworthy contractor is going to be there to provide and ensure that your home is well taken care of for years to come.
Our team at MARS Roofing is ready to step in and provide you with the service you need and deserve. Contact us today for a free estimate and inspection!