Oct 12, 2022 | Blog
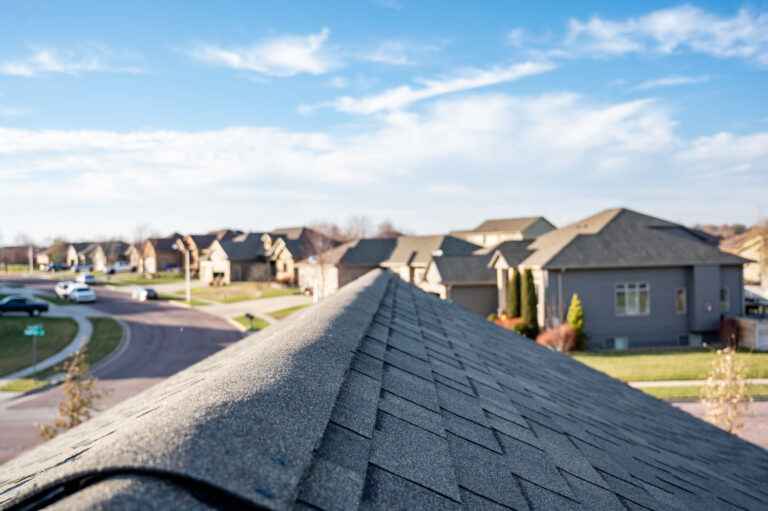
Roof renovation is one of the most common types of repairs that homeowners choose to tackle. Many low-income families are left wondering how they can pay for roof replacement without taking on a second mortgage or paying out of pocket.
Homeowners’ insurance rarely covers a full replacement. The good news is that many government grants are available for your new roof. These home repair assistance grants can help you with the cost of replacing your roof.
In this guide, we’ll go over some of the most common government grants for roof replacement and how to apply for them.
GRANTS TO REPLACE YOUR ROOF
If you are looking to replace your roof with a new one, you may be able to receive financial assistance based on your income level. These grants can cover the cost of materials and labor involved in replacing or repairing your existing roof.
Government programs offer these grants to low-income families and homeowners who cannot afford the cost of roof replacement.
The following are some of the most common types of government grants for roof replacement. Remember that your area median income often factors into how much of the grant amount you could receive.
If you want additional specifics on the roofing replacement grants that may be available to you, talk to a licensed roof installer in your region.
WEATHERIZATION ASSISTANCE PROGRAM (WAP)
The Weatherization Assistance Program (WAP) is a significant funding source for needed roof repairs from the government.
The Department of Energy runs this initiative to assist low-income families in cutting their energy bills and making their houses safer and healthier for their residents. It is common for states to prioritize the needs of the elderly, children, and those living with disabilities.

SSI
Suppose you or a family member gets Supplemental Insurance Income or Aid to Families with Dependent Children. In that case, you may qualify for Weatherization Assistance, which offers federal funding for necessary home repairs such as roof replacement.
SINGLE FAMILY HOUSING REPAIR LOANS AND GRANTS
Loans and grants for repairing single-family homes are available through the U.S. Department of Agriculture under a program sometimes known as Section 504.
Homes in low-income neighborhoods with safety hazards can apply for loans and grants to make necessary repairs.
Homeowners whose annual income is less than 50% of the national average can apply for financial help. Senior citizens 62 and older who are having trouble making their repair loan payments may be eligible for free roof replacement grants.
If a homeowner is interested in applying for a government grant to replace their roof, they may visit the program’s website to discover if they live in an eligible area.
THE TRIBAL ENERGY PROGRAM
Energy.gov Tribal Energy Funding Program is another federal initiative that offers to fund roofing projects focused on energy efficiency.
ENERGY AND WEATHERIZATION
The program encourages indigenous communities to assess and expand their renewable energy resources and minimize energy consumption via efficiency and weatherization.
EDUCATION AND TRAINING
This tribal lands initiative provides:
- Educational and training opportunities to support sustainable energy technologies.
- Job opportunities.
- Economic development in tribal communities.
Those curious about this government subsidy for exterior roofing work can contact the program’s support staff for further details.
THE HOUSING PRESERVATION GRANT
USDA Preservation Grants are one option among several available from the federal government for nonprofits serving low-income housing communities. Free roof replacement grants are available through this program to ensure the continued habitability of low and very low-income homeowners.
COMMUNITY GRANT
This award is only available to communities, not individual homeowners. You may learn more about these federal funding opportunities for roof repair by visiting the official website for the program. Additionally, you can inquire at the rural development office in your area.
LOCAL GOVERNMENT
Lower median income families seeking federal funding options for roof repair or replacement should contact their local governments to see if they have any community-based programs available.
Get in touch with your state office for assistance in learning more about the available programs and if you automatically qualify for help based on your monthly income.

SINGLE FAMILY RESIDENTIAL REHABILITATION PROGRAM (SFRRP)
The Single Family Residential Rehabilitation Program (SFRRP) is managed by the Department of Housing and Community Development (DHCD). It provides funding for roofing repairs and other changes to make homes more accessible for people with disabilities.
Grants of up to $50,000 are available via DHCD’s SFRRPD program for families who need assistance making their houses handicapped accessible.
Two separate projects are available through SFRRP, with total funding of up to $50,000. DHCD oversees the build and handles contractor payments on the homeowner’s behalf.
The homeowner does not compensate the contractor.
ROOF REPAIR PROGRAM
Senior citizens who qualify for the Roof Repair Program might receive up to $15,000. Homeowners with a very low income can use this money for anything from minor repairs to complete replacements.
Repairs outside the home and installing gutters may also be included.
HANDICAPPED ACCESSIBILITY IMPROVEMENT PROGRAM (HAIP)
The Handicapped Accessibility Improvement Program (HAIP) gives funds of up to $30,000 to people with impairments to make accessibility improvements to their houses. They have increased accessibility resulting from the elimination of barriers and risks.
LOW-INCOME HOME ENERGY ASSISTANCE PROGRAM (LIHEAP)
Another government incentive for roof replacement homeowners might use for less extensive repairs is the Low-Income Home Energy Assistance Program (LIHEAP).
Under LIHEAP guidelines, partial roof replacement or repairs are permissible, but a total replacement is considered a construction project and so ineligible for services.
WEATHERIZATION UNDER LIHEAP
Remember that weatherization is a secondary goal of LIHEAP, whose primary function is to assist with household heating and cooling costs. For this reason, it is more probable that you may receive immediate assistance with your utility bills.
IRS
Small federal subsidies are available from the IRS for roof replacement and repairs. Still, they are frequently difficult to understand and enable without the help of a local certified public accountant.
Although renovations (but not repairs) to an existing home are not tax deductible, they increase the home’s cost basis and reduce the seller’s capital gains when the property is sold.
DEDUCTIBLES
The cost of repairing or replacing your roof may qualify for the home office deduction. Replacements are considered capital upgrades, and thus depreciation occurs gradually over several years for replacements.
Maintenance costs are deductible in total for a single calendar year. Therefore, retain all roofing contractor receipts and provide them to your accountant when needed.
CONCLUSION
We hope this guide has helped you understand how grants for roof repair are available. Talk to a roofing professional if you need a new roof and are looking into eligibility criteria. They’ll be able to give you an idea of how much your project will cost and how much help you may qualify for.
Oct 7, 2022 | Blog
Did you know that millions of tourists visit Maryland every year? As a local, you might not always think about the cultural gems that you have access to, but there are many attractions perfect for both families and individuals right in your own backyard.
Southern Maryland in particular, which includes St. Mary’s County, Charles County, Calvert County, and parts of Prince George’s and Anne Arundel Counties, has many towns full of rich history and some of the best tourist attractions in the region.
From the Chesapeake Bay to the Potomac River, the biggest cities in Southern Maryland have much to offer to both residents and tourists alike. Use this article as an introductory travel guide for your next big adventure!
1. WALDORF
Waldorf is the perfect destination for a day trip. Start your day off with a guided tour at the Dr. Samuel A. Mudd House Museum, the home of Dr. Mudd, who is famous for setting the leg of John Wilkes Booth. Spend the afternoon picking produce at Shlagel Farms or catch a game at the Regency Furniture Stadium. Finish the day off with a pint at Patuxent Brewing Company.
Waldorf is also a 20-minute drive away from Charlotte Hall, MD. If you’re interested in historic sites, you can check out the old campus of the Charlotte Hall Military Academy, as well as other historic architecture.
2. BOWIE
The town of Bowie, MD, has many outdoor entertainment options in addition to historic sites and museums. Prince George’s Stadium is an entertainment destination for baseball enthusiasts everywhere. The Belair Mansion, the former home of multiple governors of Maryland, is on the National Register of Historic Places. The Stable Museum associated with the mansion commemorates a long, successful racing history as one of the premier stables in mid-20th century racing. Bowie is also home to a train station museum, as well as the only museum dedicated to broadcasting in the area.
3. FORT WASHINGTON
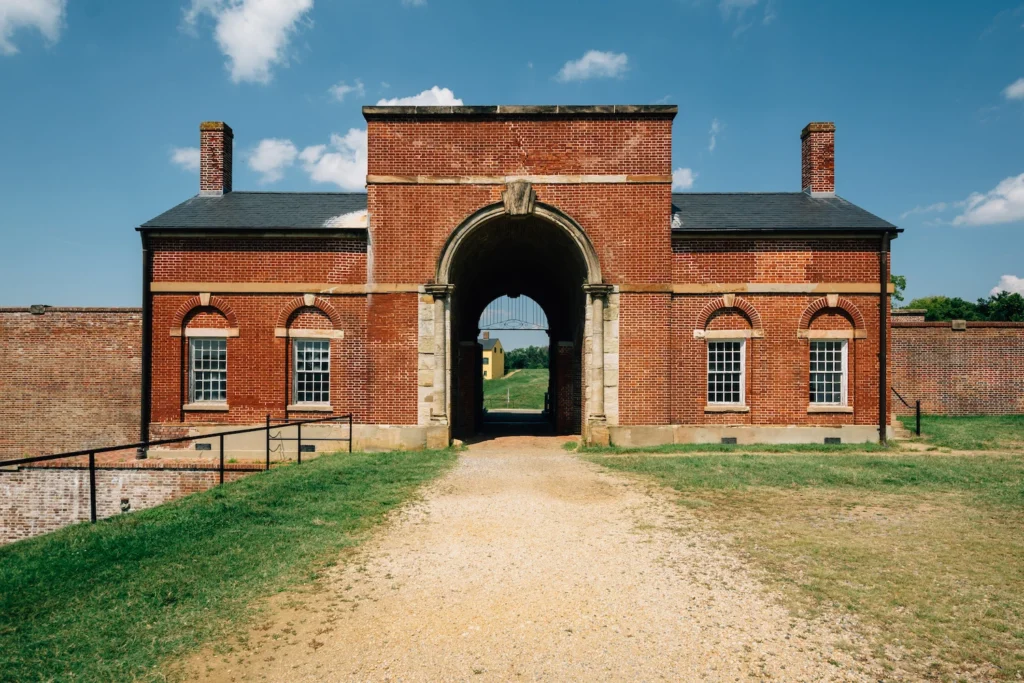
Named after the fort located near the Potomac River, this is one of the towns on this list that you don’t want to miss. Fort Washington was originally built in the early 1800’s as a line of defense for the nation’s capital, and it served that purpose through World War II. Although the historic fort site is no longer in service, it still exists and is part of a larger system of parks that’s open to the public daily. In addition to Fort Washington Park, the town also boasts a raceway and a golf club.
4. OXON HILL
Oxon Hill is a suburb in the greater Washington region, but that doesn’t mean there’s a shortage of things to do. Among the most notable destination spots in this town is the MGM National Harbor. It’s a great place to stay to get away from it all while still staying in close distance to all the big city entertainment you love. The resort includes a theater, a casino, a hotel, and many bars and restaurants.
5. LEXINGTON PARK
Situated next to the Patuxent River and on the shores of the Chesapeake Bay, Lexington Park is located in one of the state’s southernmost counties. One of the town’s must-see attractions is the Patuxent River Naval Air Museum. The museum is unique among other naval air museums, as much of its focus is on the research side of military aviation, as well as shedding light on how the work of the U. S. Navy at this base has impacted the residents of St. Mary’s county and the broader community.
For more things to do in the area, historic St. Mary’s City is only about a 15-minute drive away from Lexington Park. This living history museum is one of Southern Maryland’s premier tourist attractions. It memorializes the site of Maryland’s first capital (Annapolis didn’t become the capital until 1695) and educates the public on what life was like during colonial times. The grounds include reconstructions of the town center, a chapel, a tobacco plantation, a sailing vessel, and more.
6. ACCOKEEK
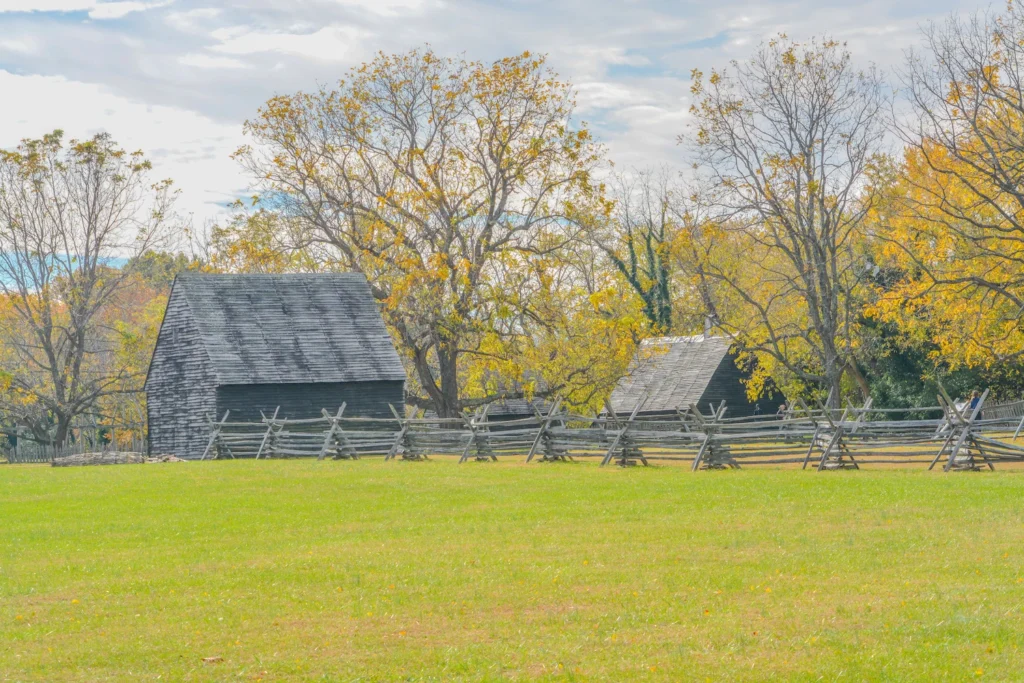
Located in southern Prince Georges’s County, this town’s biggest claim to fame is the National Colonial Farm in Piscataway Park. This historic reenactment farm shows visitors what the lives of 18th-century farmers in the area were like, and it also serves as a site of historic architectural and plant preservation. The 200-acre grounds of Piscataway Park also feature many hiking trails, heritage livestock, and freshwater fishing on the Potomac River.
7. ROSARYVILLE
Located along Highways 4 and 301, Rosaryville is easy to get to and hard to leave. In keeping with the outdoorsy nature of most of these Southern Maryland towns, Rosaryville is home to a nearly 1,000-acre state park. The Mount Airy Mansion—once owned by the prestigious Calvert family and which historically has played host to wedding services, births, and other parties—is now a museum that’s open to the public. While you’re in town, make time to also stop by the Maryland Veterans Cemetery and the farmer’s market.
VISIT THESE SOUTHERN MARYLAND CITIES TODAY
Next time you’re planning a vacation, consider visiting one of these cities on the southern tip of Maryland. From the western shore of the Chesapeake to the eastern edge of the Potomac, you’re sure to find just the right holiday destination for you and your family.
While Southern Maryland has some of the best vacation spots around, it also has some of the best roofing companies, and MARS Roofing is no exception. We can help you with everything from roofing and siding repair to gutter, window, and door replacements. With a 24-hour turnaround on scheduling an inspection with one of our on-staff experts, you’ll have a project plan in less time than it takes to finish your weekend trip!
Ready to get started? Fill out our contact form to schedule your free inspection, and we’ll take care of the rest!