4 Crucial Roof Safety Rules To Keep You & Your Crew Safe
There are certain tips to abide by if you are in charge of a crew performing repairs or replacements on a person’s home or commercial building. Knowing the basics of roofing safety is key for any person in charge of a group of people who are working or operating around a construction site.
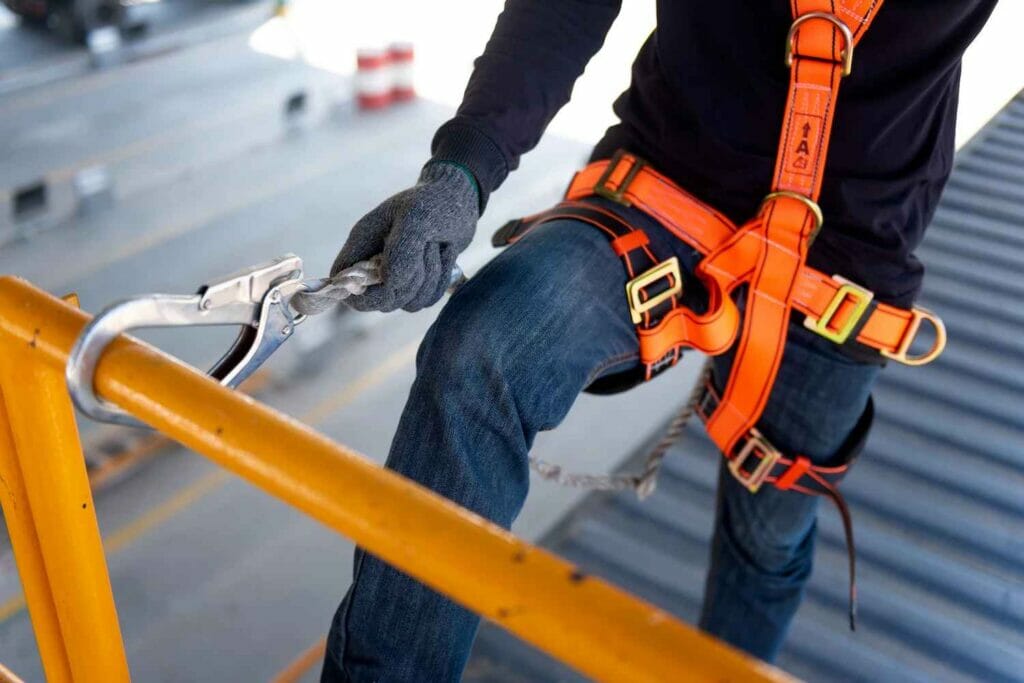
Leaders can help their workers stay safe doing this dangerous job by using the correct safety equipment (i.e., safety harnesses, safety glasses, etc.), reading common roofing safety tips, safeguarding the work area against accidents/falling, and de-briefing their team before the project regarding proper use of equipment and protection.
ROOF HAZARDS
Before you can understand the most common safety rules to abide by when it comes to roof safety, you need to know the most common roof hazards that can occur. To protect one another from harm, such as the local contractors and roofers, you need to be aware of the following hazard that must be identified, analyzed, and controlled.
FALL HAZARDS
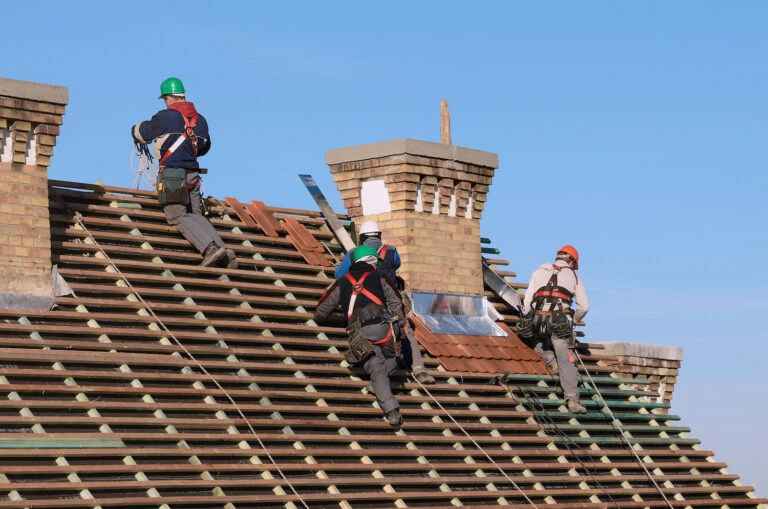
The first issue to keep an eye out for are fall hazards, including guardrails, structural support, holes and cracks, and other potential concerns that have to do with height on a house. Workers should always have a safety harness and ladder to prevent falls near the roof edge. Team leaders can prevent an accident by using an extension ladder to safely work in high areas and minimize risk.
POWER TOOLS
The second roof hazard to consider in terms of occupational safety is the presence and use of electric machines. If these are not used properly or workers do not know how to operate them correctly, this can cause slips, injuries, and unsafe working conditions. Knowing the basics of protection against these items are key to working on a roof.
ELECTRICITY
The third issue to keep an eye out for is electricity, including power lines, electrical shocks, burns, and possible causes of electrocution while working on a roof. Double check that your job site is free of these common hazards, such as an unintentional rope grab, to avoid lost footing.
HAZARDOUS MATERIALS
Keep an eye out for hazardous or toxic materials, like paint fumes, chemicals, or poison that can lead to workplace injuries or accidents. Make sure you only have the proper equipment on site to avoid serious injury.
EXTREME TEMPERATURES
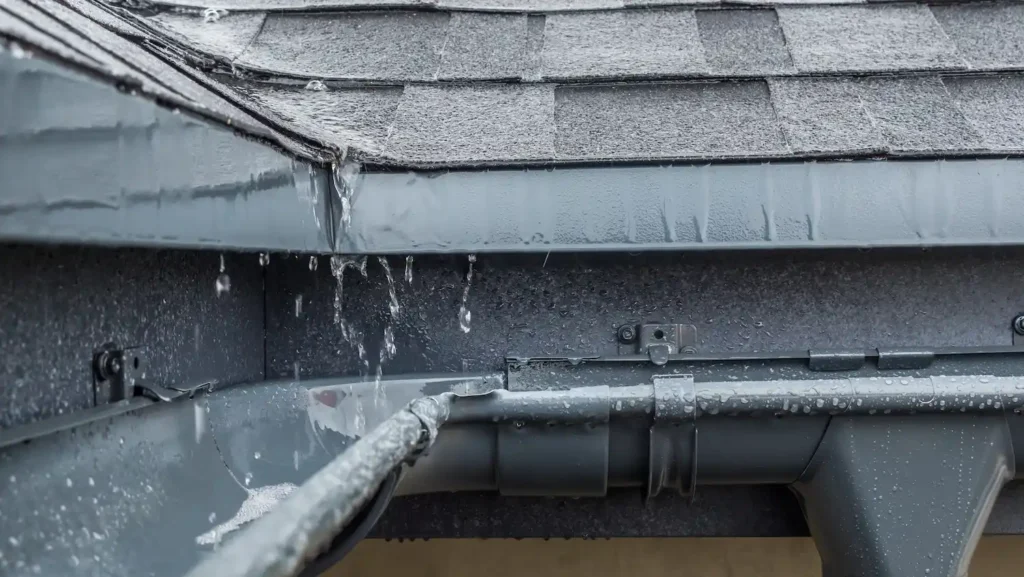
Lastly, those in charge of a workplace crew who are working on installing a new roof or roof replacement must consider extreme temperatures or weather conditions during operating hours. Slate and tile roofs can succumb to the heat, so make sure your workers are properly trained to wear suitable footwear and look out for the common signs of heat or cold related illnesses.
4 ROOF SAFETY TIPS
Now that you know the main roof hazards to keep an eye out for while in charge of a crew, there are a few key roof tips that must be followed during the entirety of the roof repair project.
PRE-START DEBRIEF ON SAFETY EQUIPMENT
One of the most important aspects of any job, whether it is a small repair or large scale replacement, is a pre-start debrief and team talk before you get started. This process gets everyone on the same page and avoids miscommunication or lack of information.
The person in charge should talk to every crew member for at least 10 minutes to tell them the important information about the worksite, the project itself, and the hazards to keep an eye out for (ex: electricity areas, extremely hot weather, extremely cold weather, snow, height concerns, etc.).
Furthermore, the crew leader should assess the work area and tell the crew about any potential dangerous spots that could be unstable during use. The final step of the debrief process should include a checklist and notes to write down the conversations regarding workplace safety and the to-do list.
PLACE THE ROPES AND CORDS IN THE PROPER PLACE
The next roof safety tip to keep in mind is to put the ropes, extension cords, and other tripping hazards out of the way to prevent any falls or tangles. Make sure that any electrical items or power tools are out of the way of walk paths and not at risk of falling off of the roof.
The crew should make sure that ropes and cords are not underfoot at any point, including harnesses, that could get tangled up while a person is walking or moving across the roof.
USE GUARDRAILS (AND A SAFETY HARNESS)
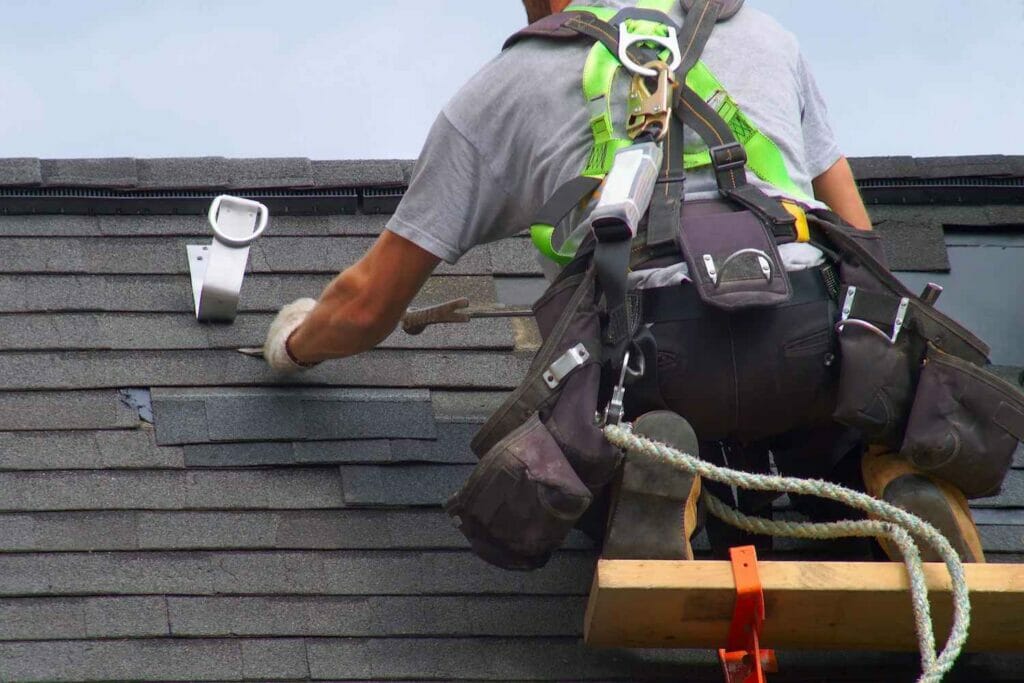
Although they may cost extra money and take time to install, using guardrails is essential to preventing falls and keeping workplace injuries as low as possible. Especially if you are working on a roof that is very high above the ground, using guardrails can help prevent injuries, deaths, and lawsuits. Workers should also wear a harness with a roof anchor to prevent falls. Lastly, knowing how to use a ladder with a guardrail is essential to avoid any items falling to the ground.
USE SIGNAGE
Lastly, using clear and easy to read signage is key to avoiding miscommunication between workers and also keeping pedestrians out of the way of the construction site. People around the area where you are working should always be aware of what is going on. Using bright signage and clear indications to keep out of the way can help prevent any injuries regarding third parties.
- Danger Sign — One of the most common signs to use for roofs is the ‘Danger’ Sign. This sign also typically states ‘Keep Off Roof’ to warn passersby to avoid danger or unstable surfaces.
- Warning Sign — The next type of sign that you can use for your worsite is a warning sign that typically states ‘Access by Permit Only’. This lets third parties know that only authorized workers or employed personnel can be in the area at any time.
- Caution Sign — The final type of sign you can use for your worksite is the ‘Caution’ sign that typically states the dangers, such as ‘Roof Slippery When Wet’.
ROOFING SAFTEY BASICS
There are a few key basics to keep in mind regarding roof inspections.
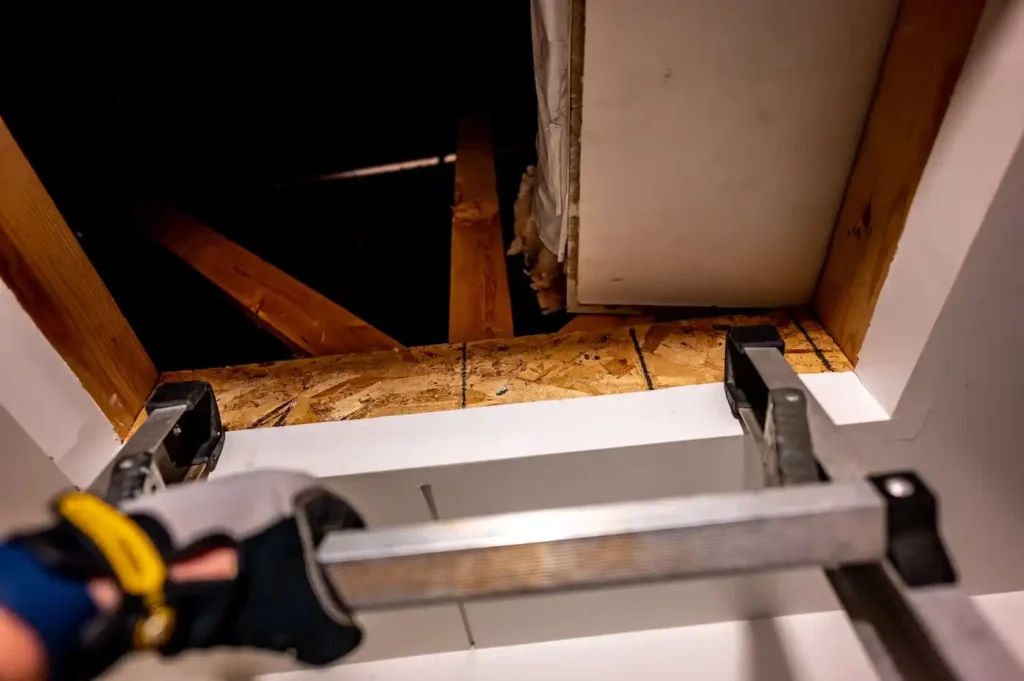
Team leaders must lean how to carefully position ropes, set up fiberglass ladders properly, place squares on roofs, and install shingles while using a ladder.
Knowing the basics for how to safely perform repairs can help lessen employee risk, such as a slip and fall accident, a broken ladder, or roofing concerns.
SAFETY ADVICE FOR ADDED PROTECTION – ROOF SAFETY IS KEY!
Even if you are doing a DIY project without any employees, you still need to know the safety rules of working on a roof.
Understanding roofing safety, using ladders, and roofing materials can help reduce any chance of injury, fall, or death.
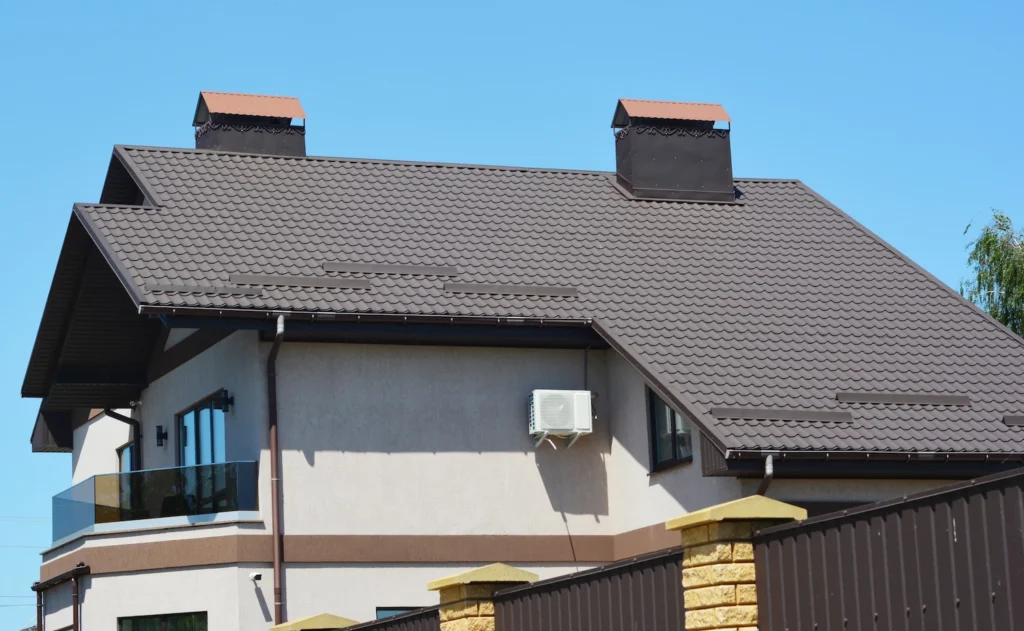

![What Is A Gable Roof? [Picture Guide]](https://mars-roofing.com/wp-content/uploads/2022/11/gable-roof-brick-768x512.jpegw3_.webp)