

![What Is The Saddle Of A Roof? [Pictures]](https://mars-roofing.com/wp-content/uploads/2023/03/roof-saddle-featured-scaled-768x576.jpegw3_.jpg)
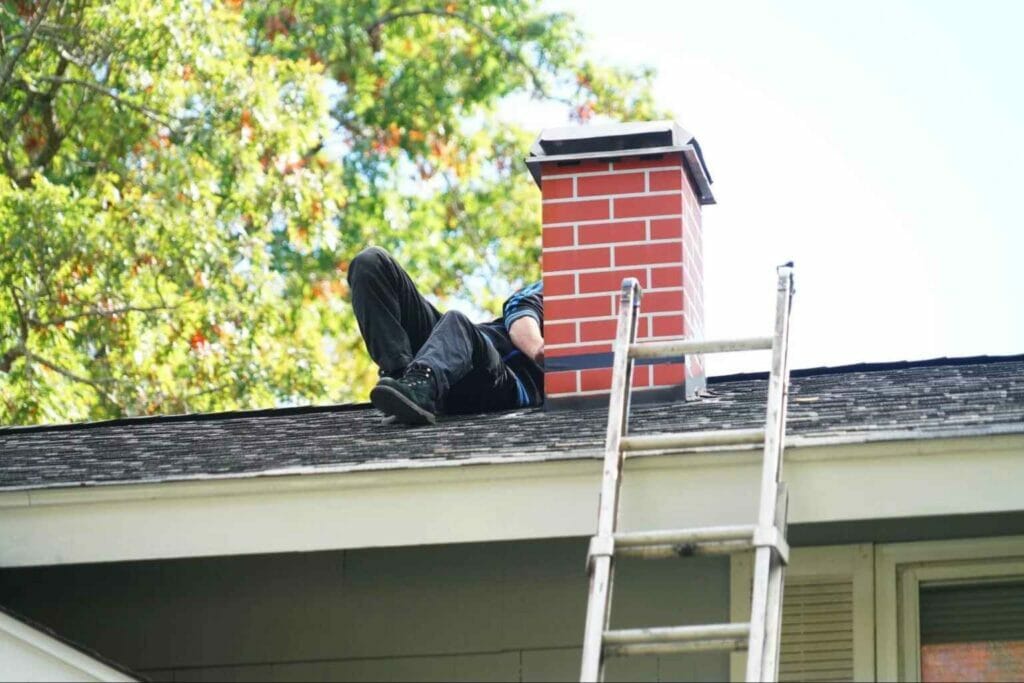
Most of us don’t think much about our chimneys, unless we’re lighting a cozy fire on a winter’s night. But the truth is that a chimney is one of the most vulnerable parts of your roof.
It might be time to check out your chimney if you’ve been dealing with persistent roof problems, including:
- Roof leaks
- Water stains on your ceilings and walls
- A drafty attic
More specifically, it’s time to check on the roof saddle.
Have you never heard of a roof saddle before? You’re not alone. This vital element of your roof is virtually unknown to many homeowners. No need to worry, though, because we have you covered. Keep reading to find out all you need to know about roof saddles.
WHY DOES YOUR HOUSE HAVE A ROOF SADDLE?
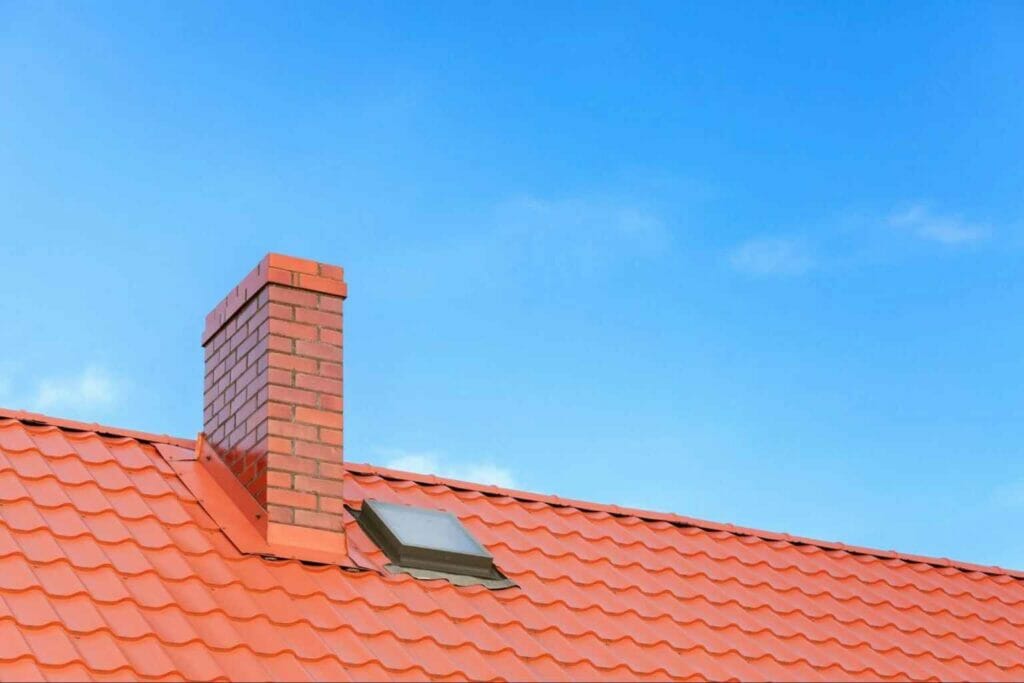
So, what exactly is a roof saddle? Also known as a roof cricket, a roof saddle is a type of customized chimney flashing that is designed to divert water away from your chimney. Like standard chimney flashing, it helps to keep water from entering your chimney by creating a waterproof seal. It differs, however, by also changing the path that the water is flowing.
It should not be confused with a saddle roof or a gable roof, which are specific roof designs, and very different than a roof saddle itself.
HOW MUCH DOES A ROOF SADDLE COST?
Installation of your roof cricket typically costs between $3000-$6000, depending on the size of your chimney and the roof materials. It’s always good to budget on the higher end in order to avoid being shocked by the final price.
Prices may also go up depending on the state of your existing roof. If a repair is needed before installing your roof cricket, you can expect to pay a bit more.
HOW IS A ROOF SADDLE BUILT?
Wondering how to add a roof cricket to your new roof? Follow this step-by-step process for a smooth installation.
1.) REMOVE SHINGLES
Before you install your roof cricket, you need to prep your space. This means clearing the roof area around the chimney. You will need to remove the various layers of the roof around the chimney. This means taking off the shingles and underlayment until only the decking is visible.
2.) BUILD FRAME
The next step is to build the frame for your roof saddle. If you are DIY-ing this project, it is important that you check what the building codes are, in regards to the height and slope of your roof cricket.
You can build the frame out of 2 by 4s, and attach it with framing nails.
3.) ADD SUPPORT
Don’t forget to add support beams to your frame! These should also be made of 2 by 4s that lay flat against the chimney facing. It’s important to make sure that they extend the full length of the chimney so that water is properly diverted.
4.) ADD DECKING
Once your frame is complete, it is time to add decking or sheathing to cover the exterior of your frame. Most people choose to use plywood as it is affordable and effective. It’s important to ensure that the boards are cut properly, and that there are no gaps that water can get through.
5.) ADD UNDERLAYMENT
Adding underlayment is an important step that will ensure that your roof cricket is protected from weather conditions like water and ice. Most homeowners choose to use felt for their underlayment, but you can also purchase a specific ice-and-water shield to protect your home.
6.) ADD SHINGLES
It’s now time to finish off your roof saddle! This is the step where you’ll either want to add metal flashing or shingles to your cricket. This will help the saddle blend in with the rest of your roof and also add an extra layer of protection against water and ice.
CONTACT A PROFESSIONAL
Not sure you’re up to the task of installing your own roof saddle? Let our team of trusted professionals handle it for you! At MARS Roofing, we are experts at all things roofing related, and would be happy to assist you with all of your roofing repair needs. Contact us today to set up your free roof inspection and get started!